
Respray and Pray
The clouds finally parted, and air temperatures raised into the balmy 50s.
I was ready.
The garage had a few hours of heaters on full blast and the temp inside hit 62. Close enough.
I blew the car and pars off, wiped everything down with wax and grease remover, another pass with a tack rag. I set up the force filtered air system in the shop (furnace filter in the windows, and fan blowing out under the garage door), gave the floor a quick hose down (damp to catch dust and overspray) and mixed the paint.
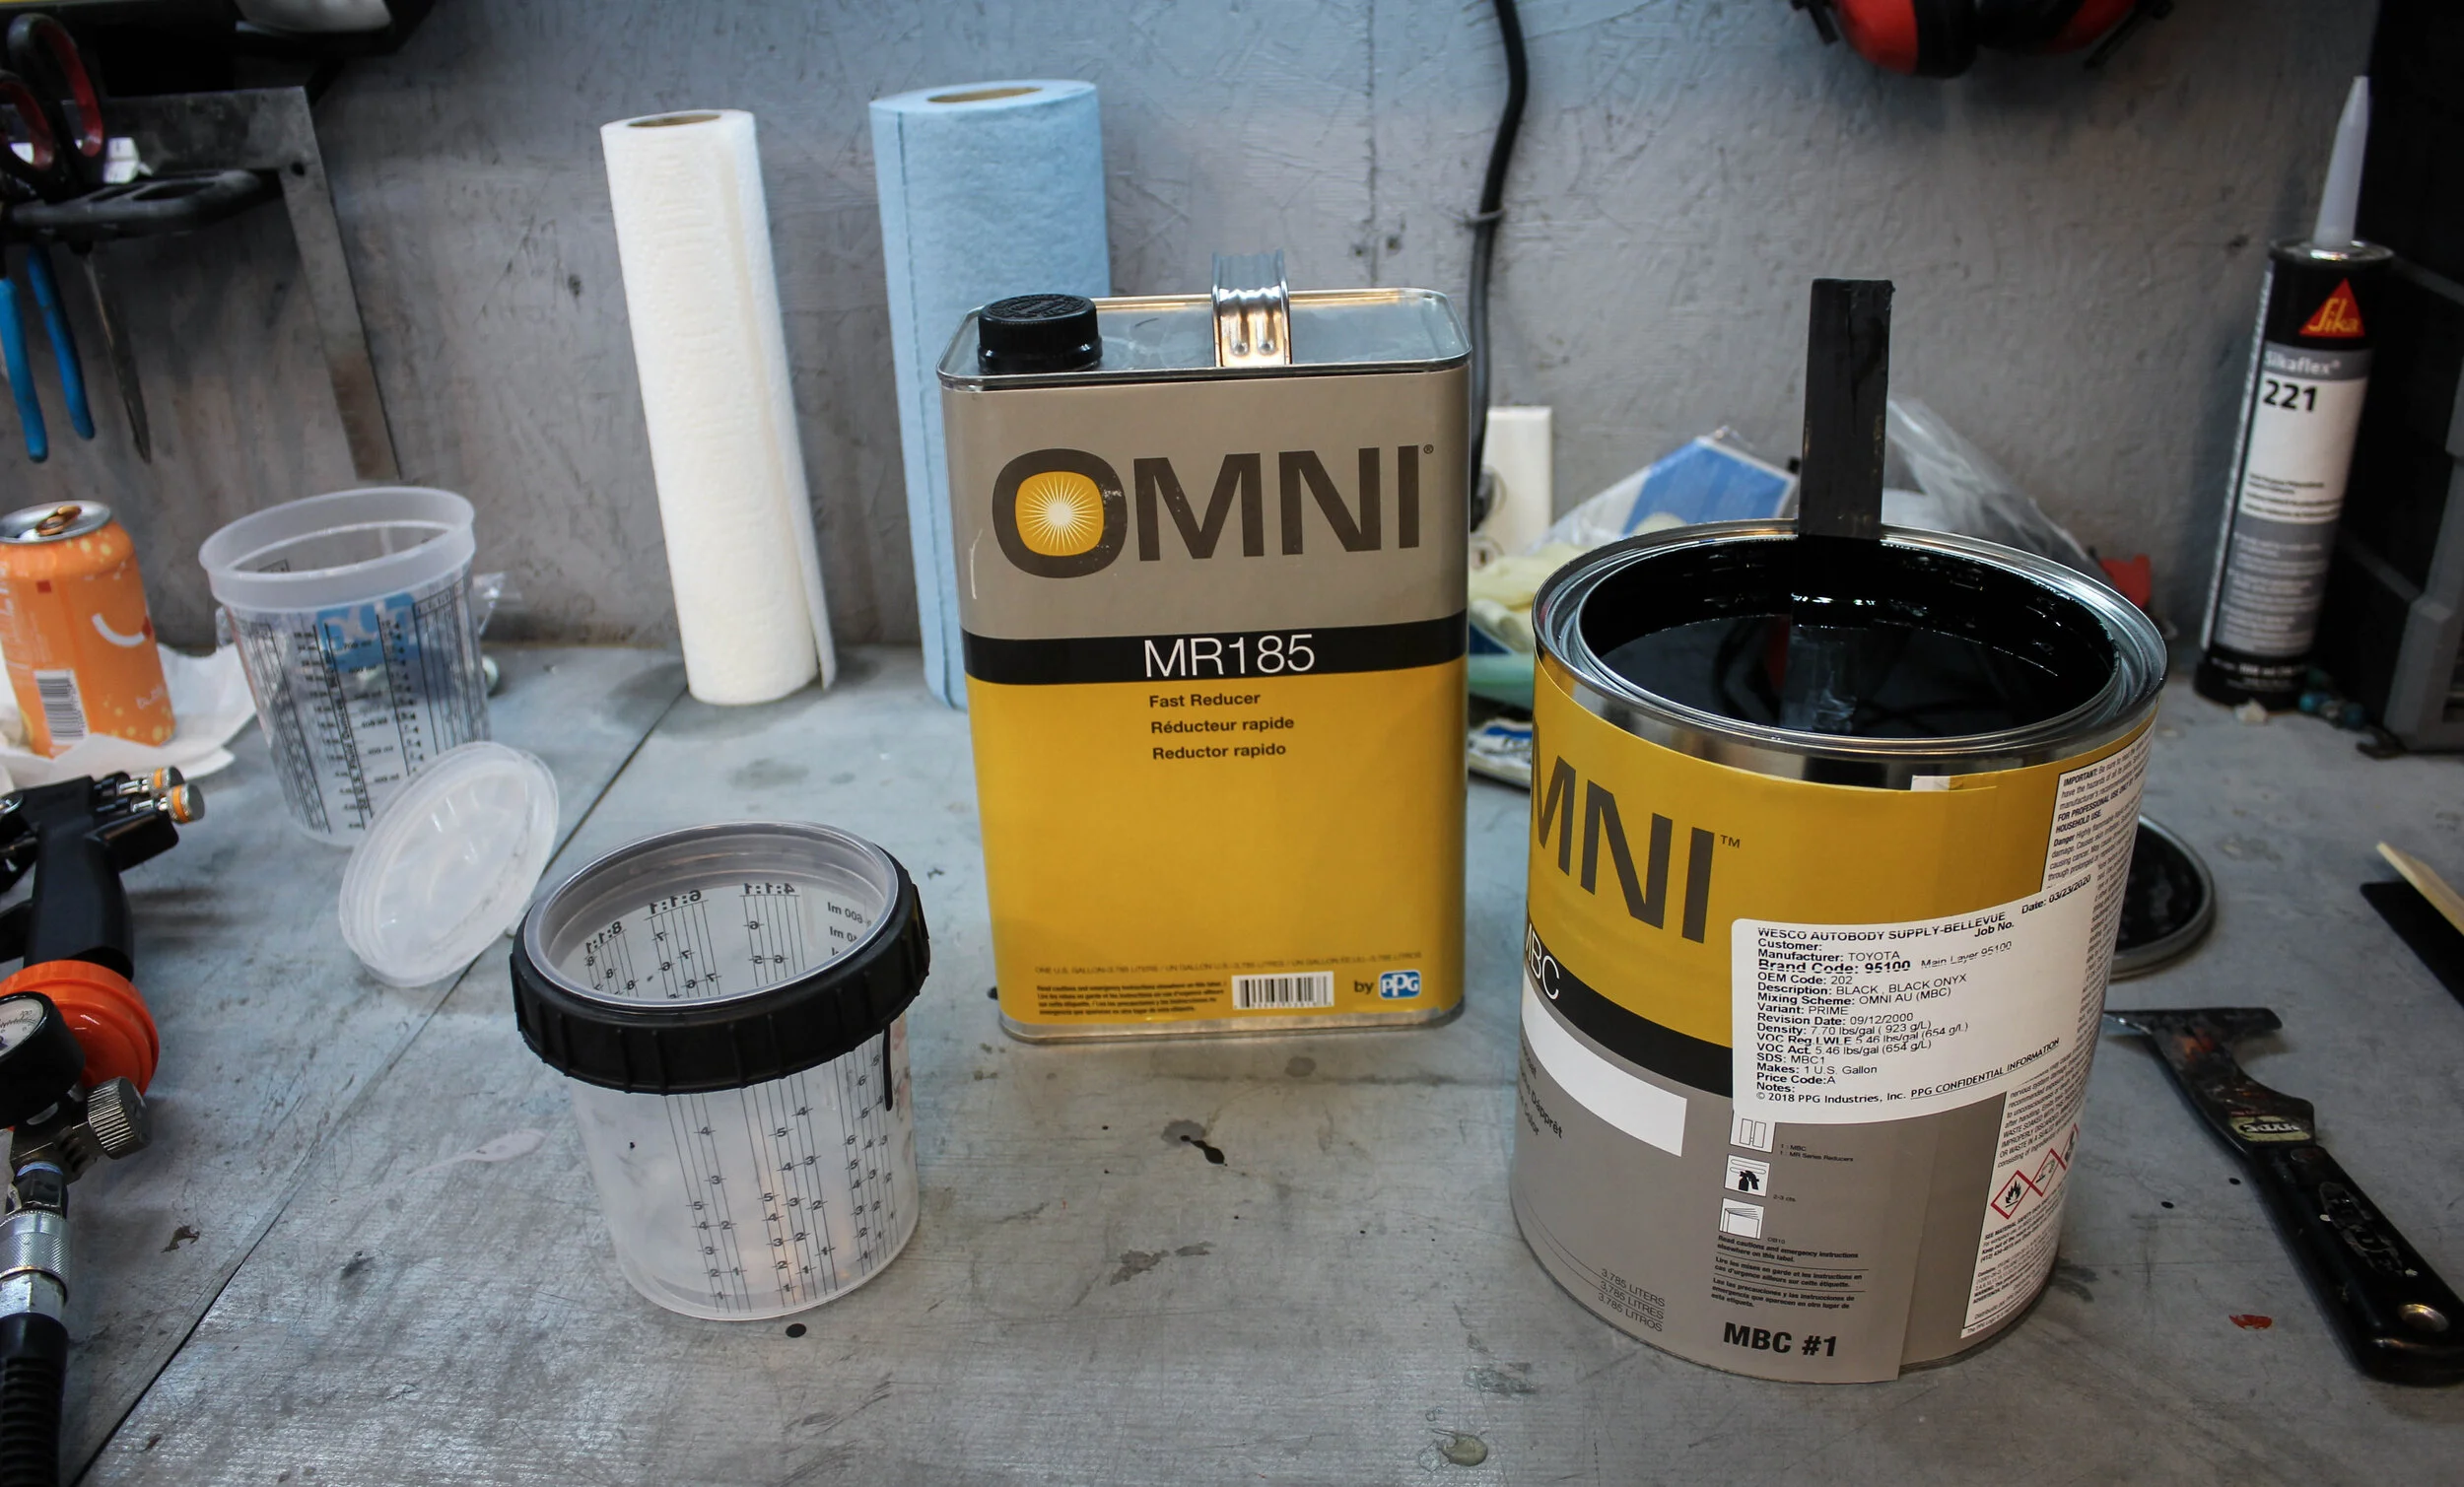
I went with a PPG product called Omni. It’s not super car paint, but worked well for me with my last MR2 paint job. Unlike OEM, we’re going to do a base coat/clear coat system. So first, we spray the black.

Away we go! The color coats are fairly forgiving to spray. You can lay down light coats, or heavy. It rarely runs unless you go overboard. I sprayed 3-4 color coats on everything.

A bit of a panic… you could definitely see the 600 grit scratches in the color coat. A little googling showed the scratches should go away once you spray clear over.


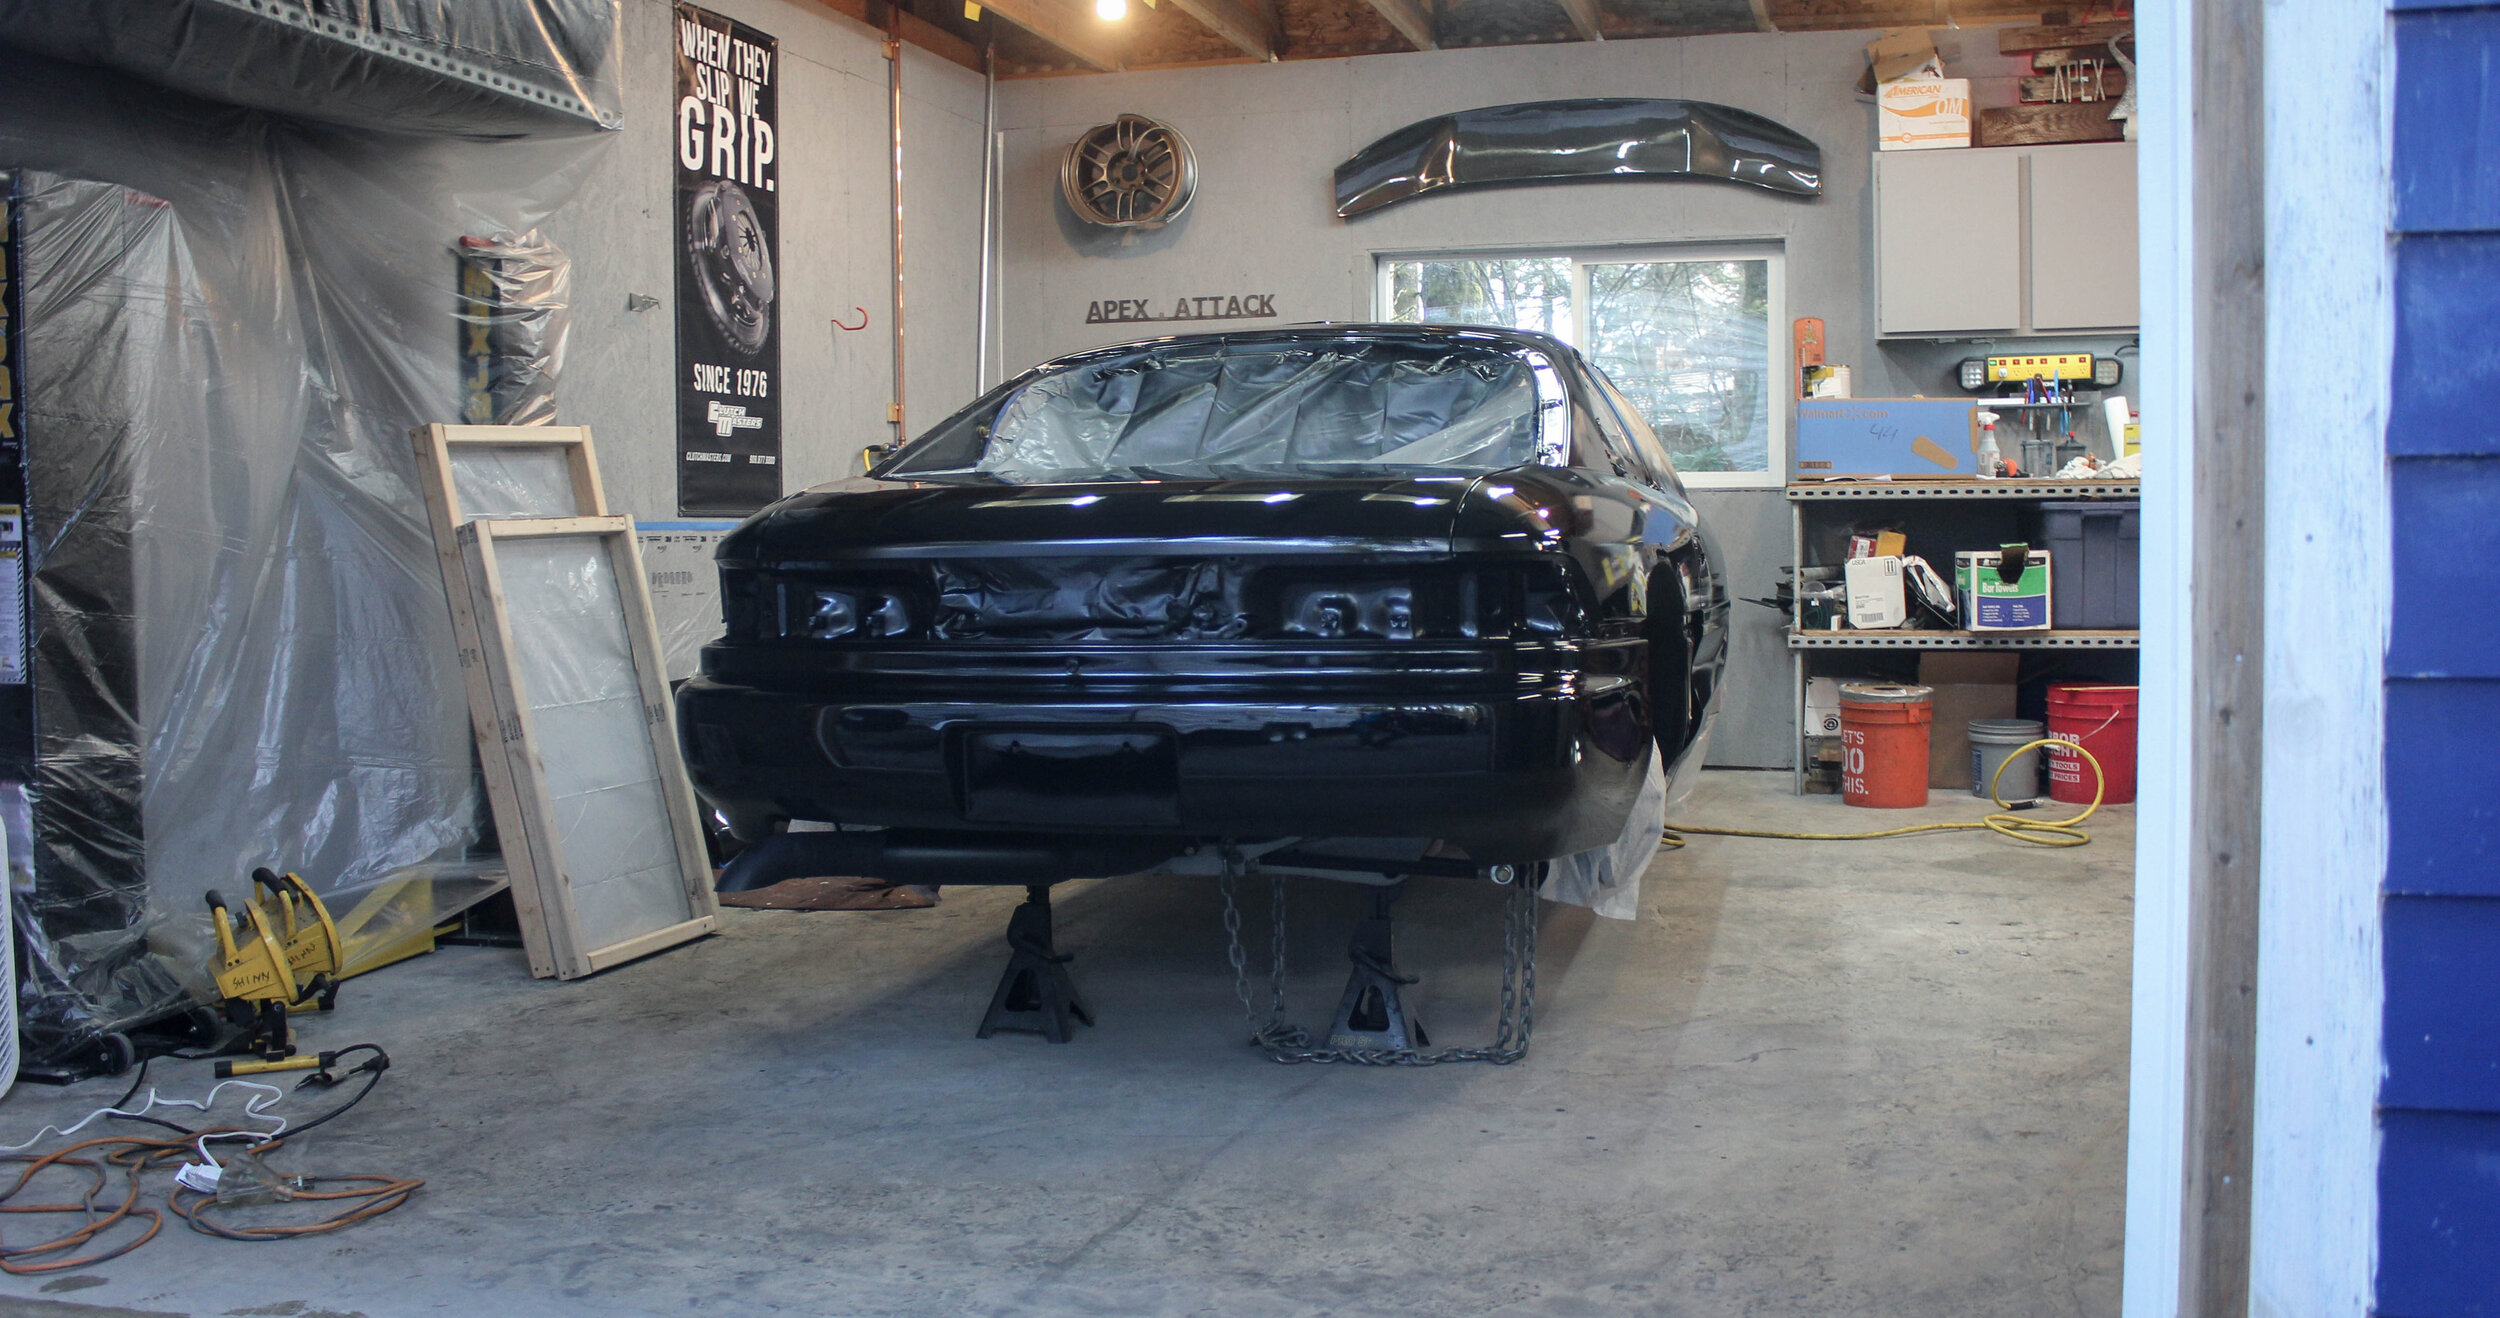
It felt really good to see some of these parts refreshed. The flares have so much time into them, it’s refreshing to see them all one color again.

One cool thing about the 3m gun is how modular it is. It includes 4-5 different sized tips, and the paint cups are disposable. This makes clean up SUPER easy. You pull the paint cup, spray reducer through the gun until it’s clear, and that’s about it. I then pulled the tip and cleaned what I could access with a rag. The paint never actually touches anything on the actual gun. As you can see here, you can cap the paint cup for future use if the pot life is long enough.


Once I was satisfied with the color coat, I moved right along to clear coat. I didn’t want to let the paint sit overnight and potentially collect dust or have problems with temperature swings of the cold night.
I cleaned up the gun, popped on a new tip (1.4mm) and started with the clear coat.


Clear was laying on pretty well. I definitely had to focus on my spraying techniques, and be VERY mindful of my hose and where I was blowing dust. If I had split the car apart from all the extra parts and done two different sprays, I think I might have had better results. But I wanted to get it done as quickly as possible with bad weather looming in the forecast (it’s also pollen season here). About half way through the clear coats I noticed I had an air leak from the gun regulator. I tightened it up and thought it would spray better… but it got worse. I fiddled with the gun for ages, but couldn’t get it to spray a nice consistent fan. I eventually just tried to work with what I had.
I gave the car about 4 coats of clear and called it a day. The humidity was rising as the day went and I didn’t want to be spraying above 70%.
The next day I came back to see how things looked.
To be honest, I was a little disappointed. I had A LOT of orange peel. Orange peel is a texture in the clear coat that you can see and feel. The only way to get rid of it without re-spraying, is to wet sand and polish the top coat flat. Basically… a ton of work. I considered trying to clear the car all over again, but it would’ve required sanding the entire car again, and re masking… Something I just didn’t have the stomach to do after all this prep.
So… I started assembling the car. Once the paint had some time to cure, I could start correcting the top coat and really learn how to polish and buff a paint job. Besides… my car doesn’t really have too many large panels anymore, so I could chip away at the finishing process piece by piece.
Once I had pulled the masking, I needed to re-install the rear quarter glass. Using some window weld to seal the glass properly.
Note the orange peel on the C-pillar. Ugh.

Since my gun wasn’t spraying very well, I really laid the clear on the last few coats. Which resulted in sags and drips in a few spots. More finishing work.
I gave everything another couple of days to cure. We had some sunny weather and I actually moved all the parts out into the yard every day to soak up the sun.
One thing I really screwed up was the carbon T-tops. Oh well… here’s how we learn! I dug out my harbor freight polisher, soaked some sandpaper, and got to work.

Some big sags and drips as you can see. Those have to be sanded flat with 1500 grit, then 2000 grit, then 3 stages of polishing.

After about an hour of sanding and a few beers, the tops were mostly flat, and the beers were sadly gone.
I use the 3M perfect-it system for polishing…. mostly because it’s all I know. The paint supply store recommended it with my last paint job and it’s what I’ve used since. It seems to work pretty well. 3 polishes and 3 corresponding polish pads.
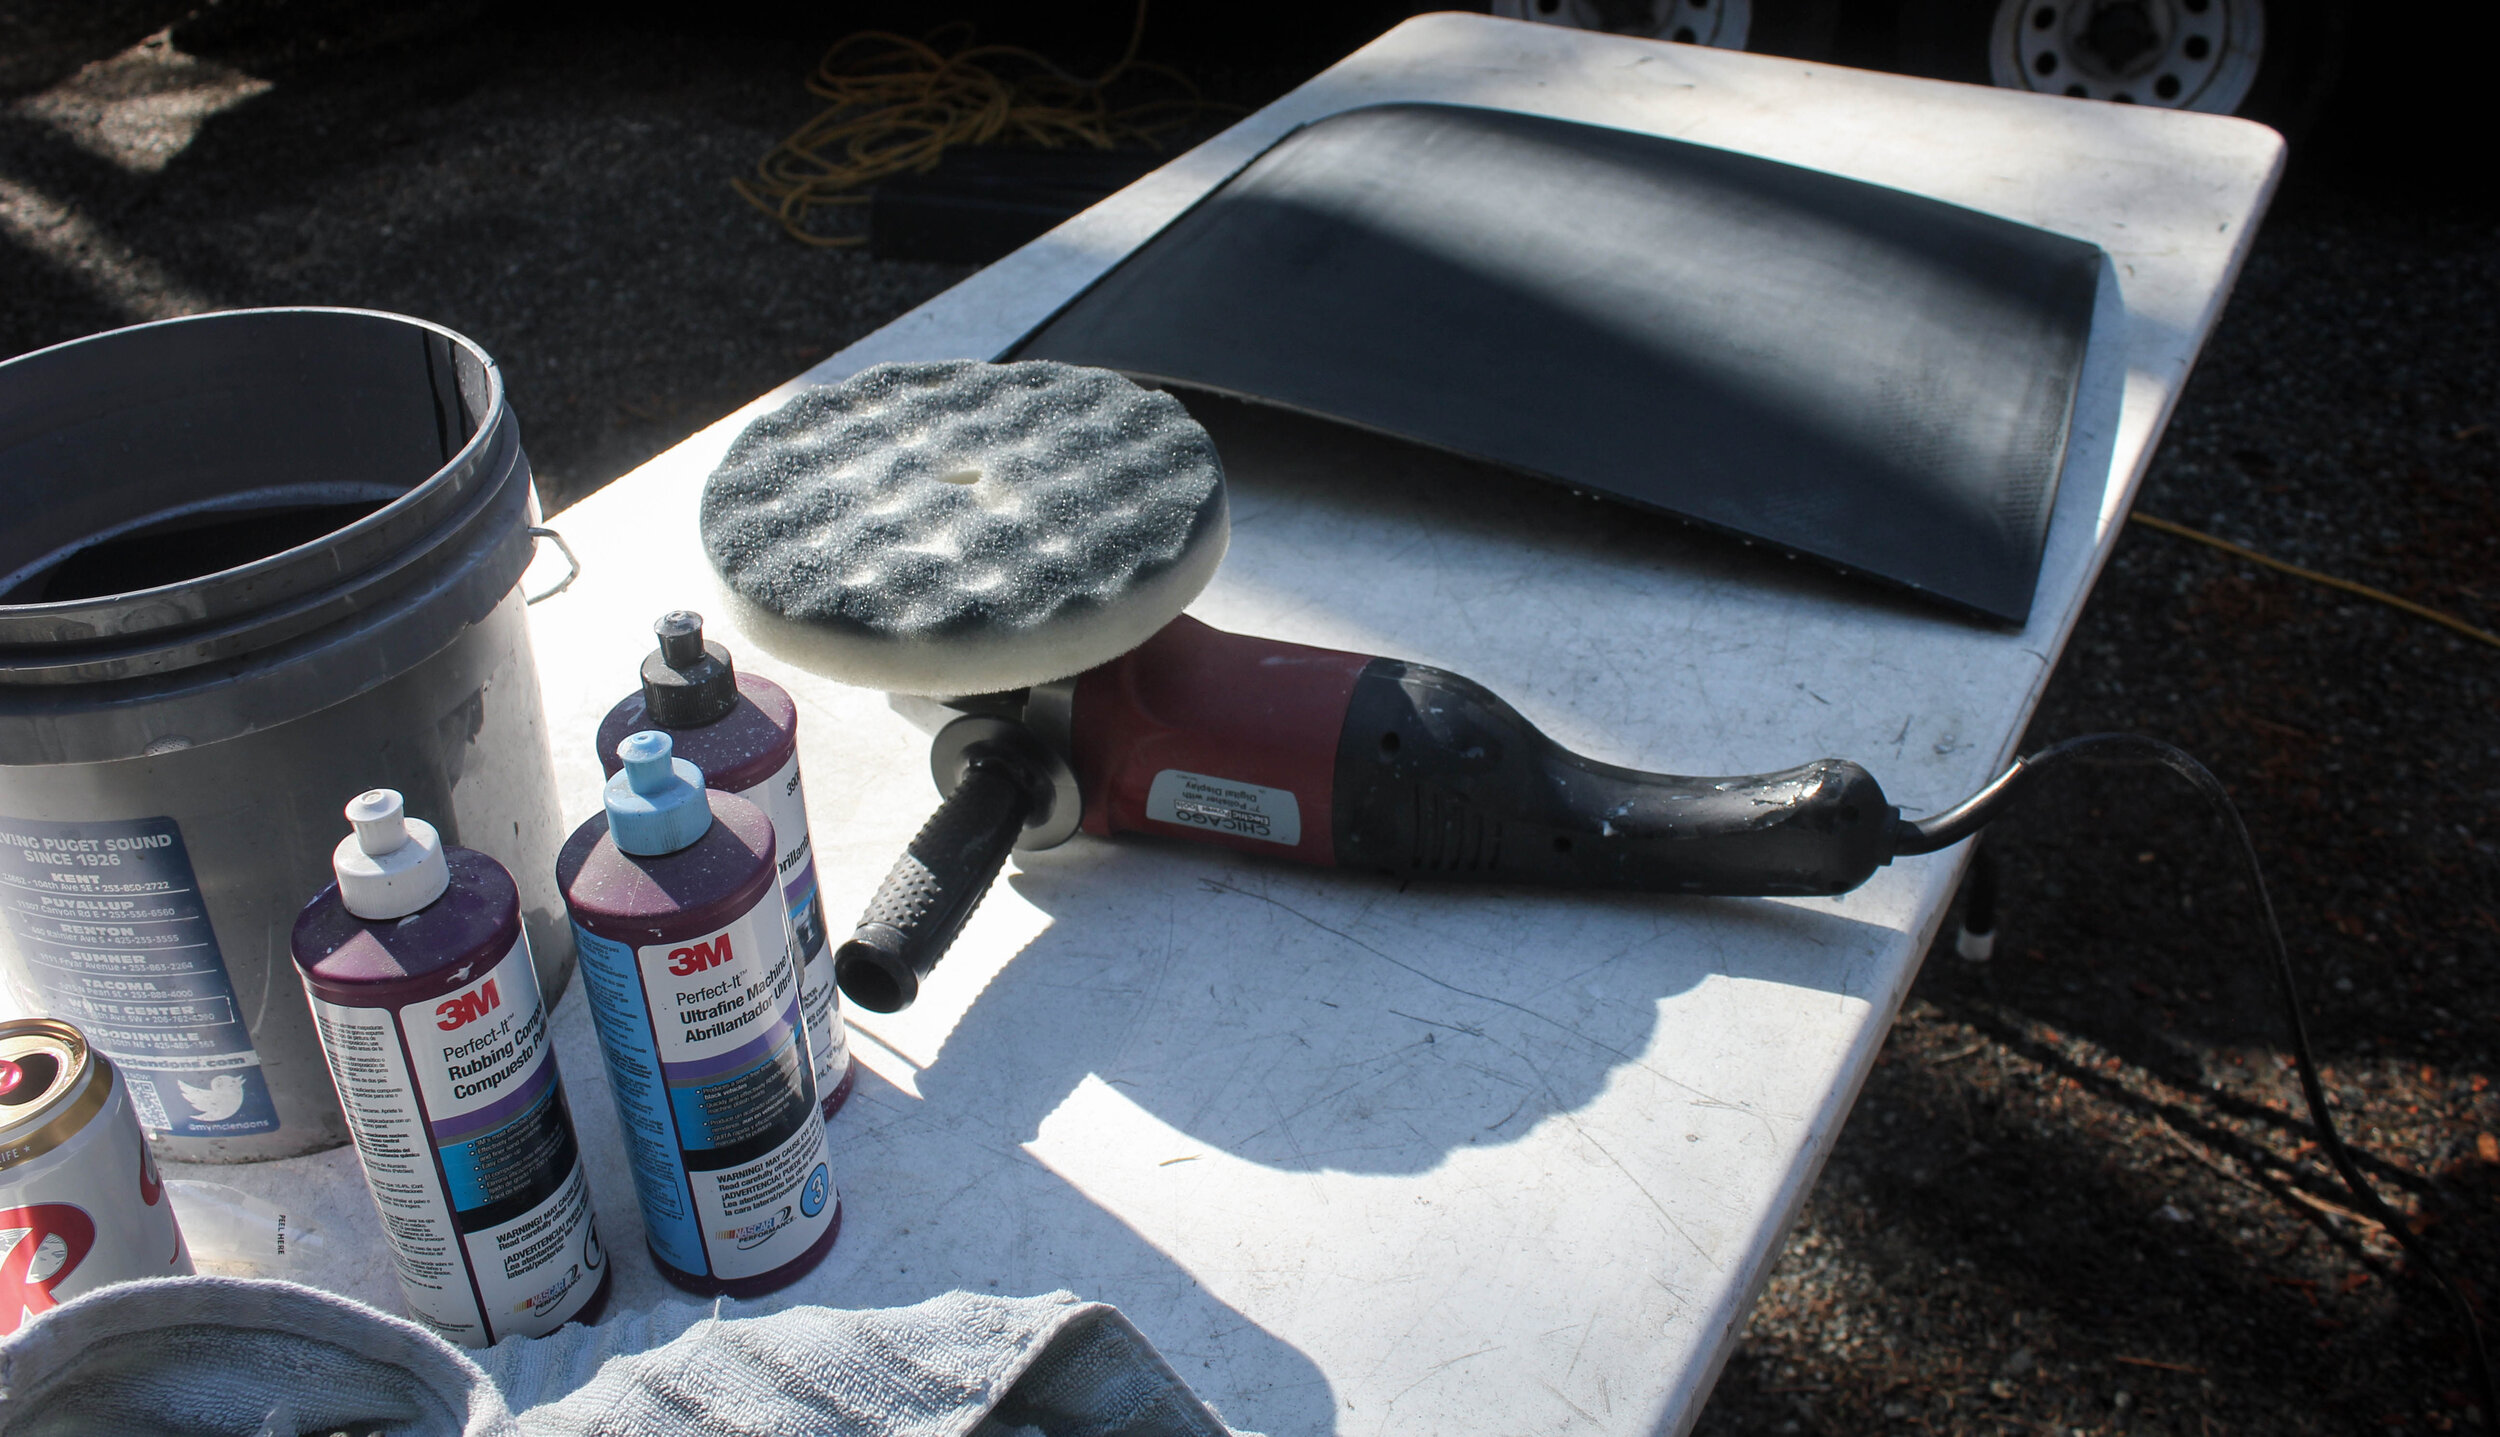
I’ll totally admit my pads were worn out, and I was about out of polish. But I had enough to do these pieces so I went for it. I’ve ordered more pads and polish, but Covid-19 is delaying shipping everywhere, especially on car parts. So I will wait to attack anything black as it’s WAY less forgiving in hiding scratches, I want to have the best tooling for the actual car. The carbon weave will hide a lot of blemishes in the clear coat.
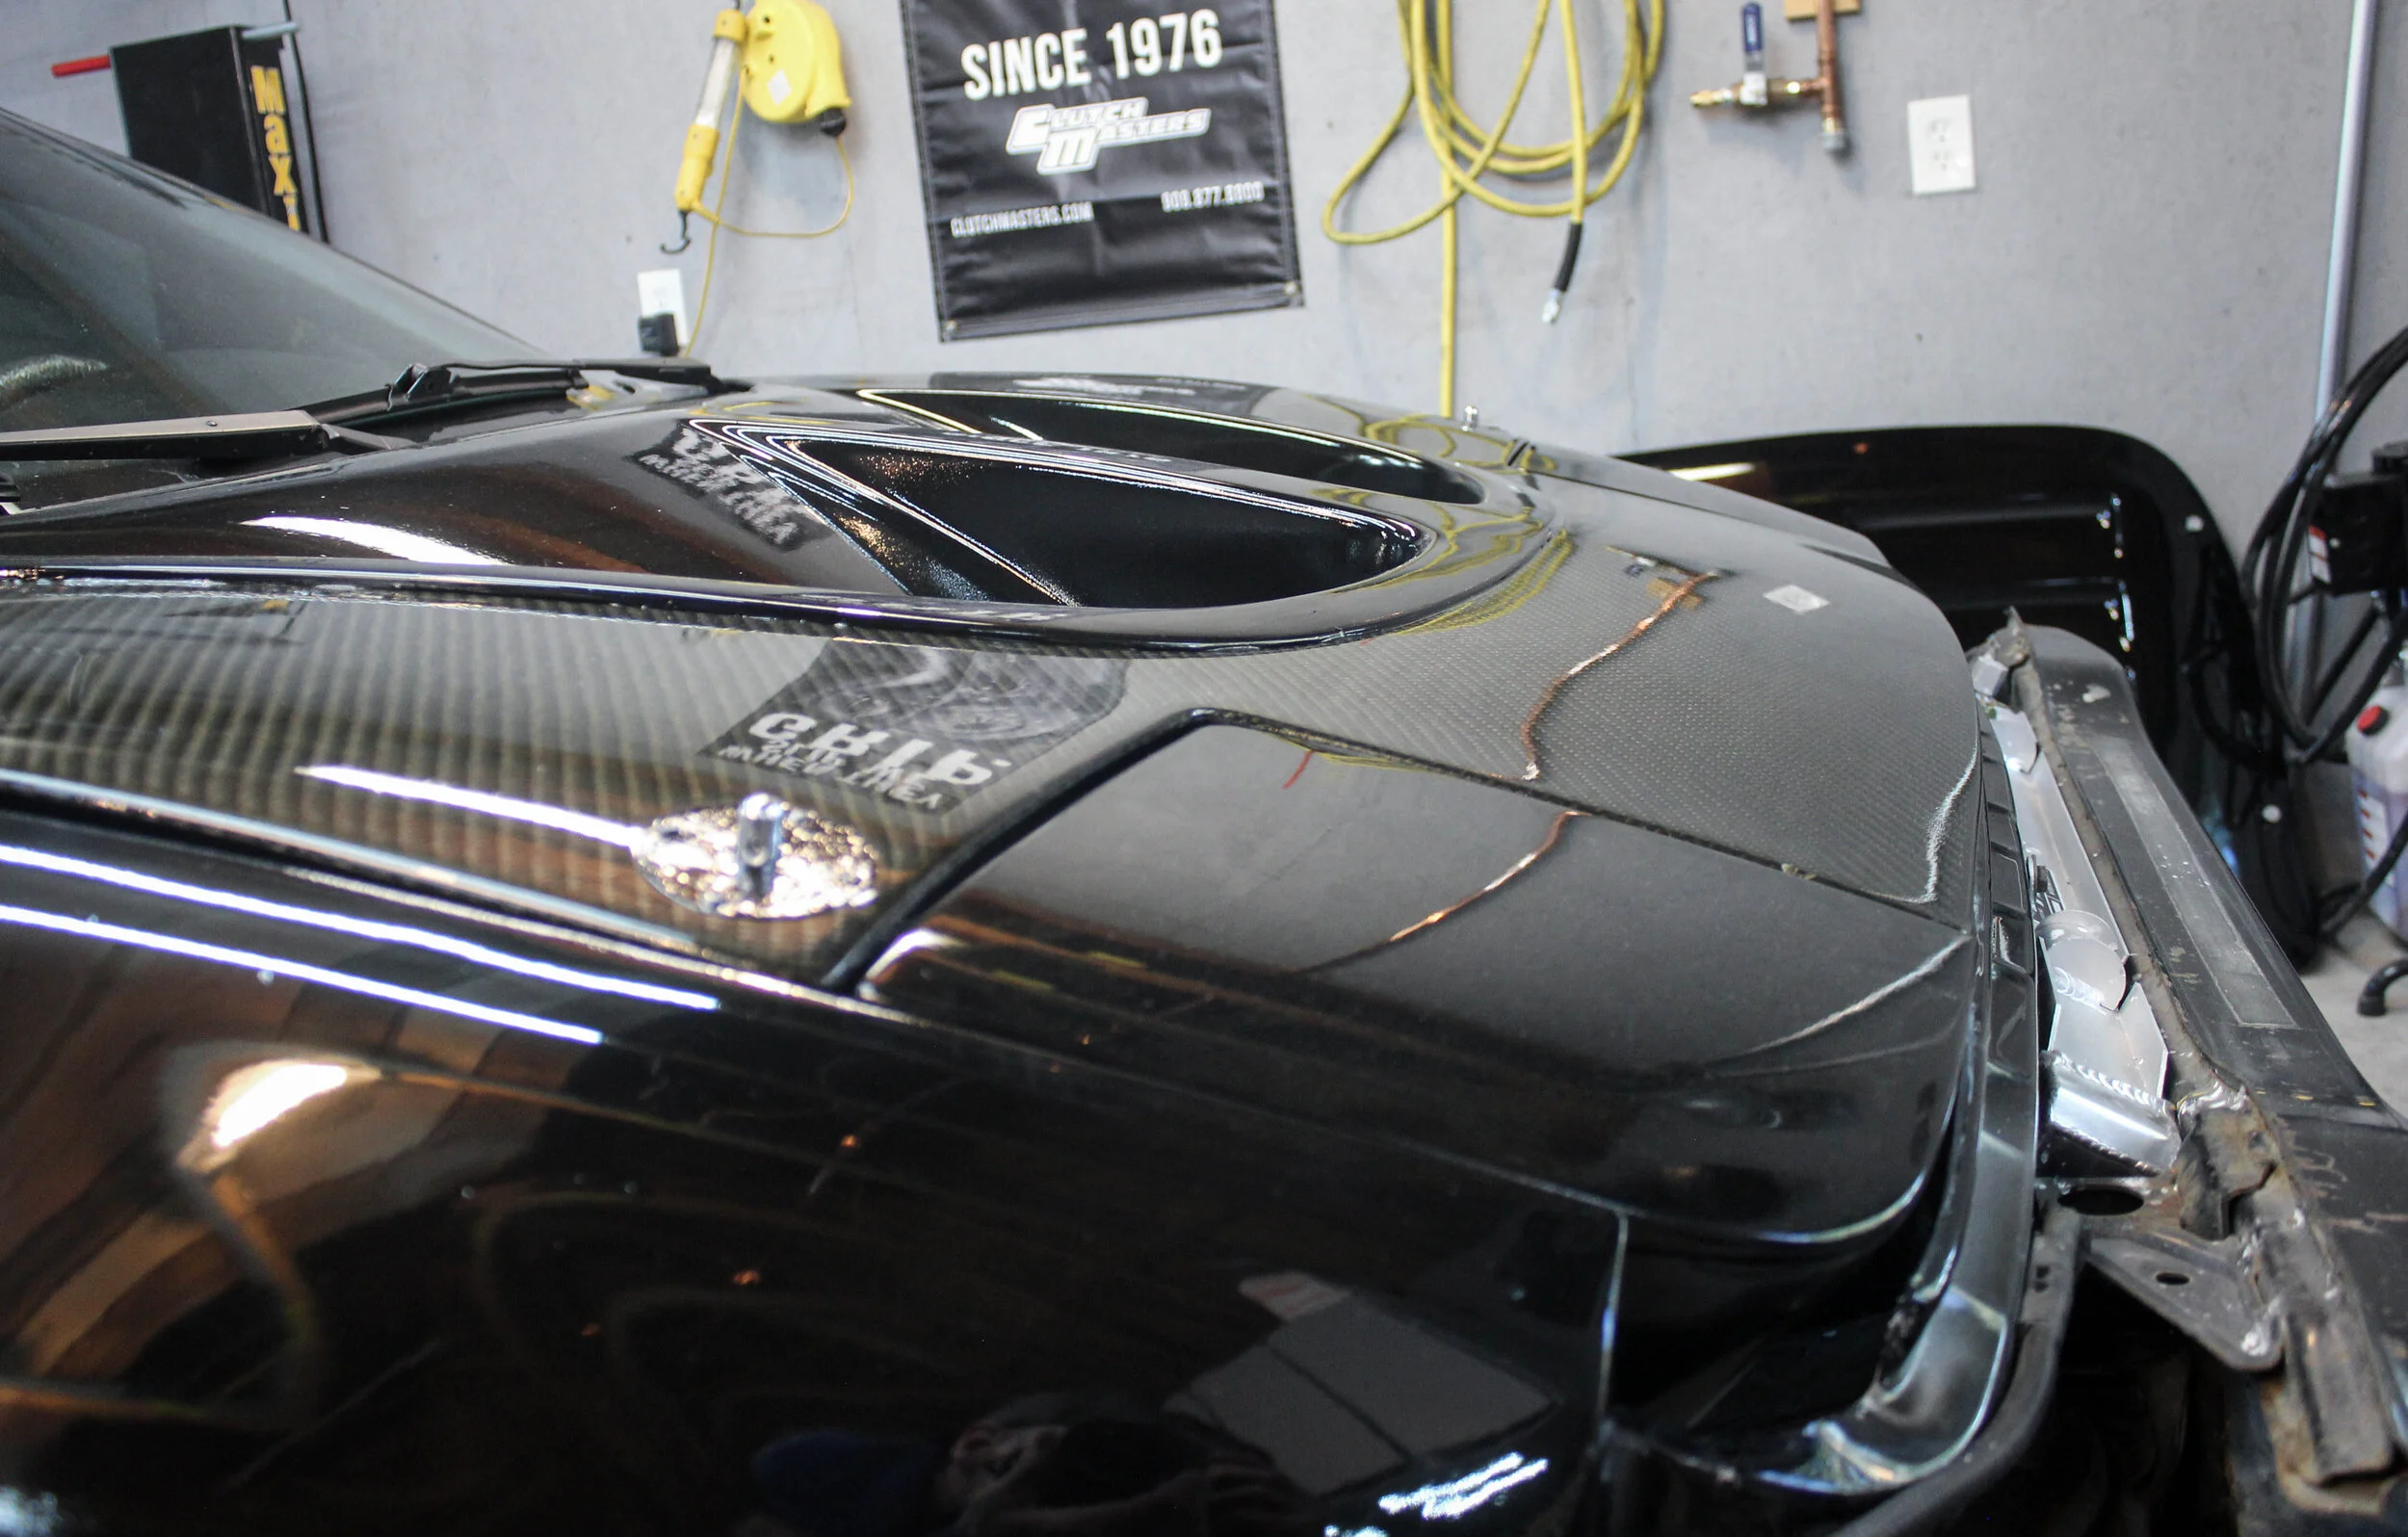
After 3 stages of polishing, things looked good!

You can see some defects in the clear along the edge in this pic. I did go back and wetsand some more, and then repeated the polishing process.

Here is the finished product. Under florescent garage lighting you can still see some of the defects if you know where to look, but for me, it passes.
I also wanted to fix the black gutter stip on the T-tops. I’ve painted these a few times and it never seems to last well. So.. let’s wrap them.

I still had some flat black wrap leftover from the wingstands, which will work perfectly here.

20 minutes later both tops looked great! If it fails… I can re-wrap them in a few years if it fails.
With how much clear coat I’ve put on the car… I can always go back and wetsand some more and re-polish parts as I see fit (or have the ambition). When I took this pic… I was worn out and really just wanted to put my car back together. I needed a morale boost.
So I had an idea. Before putting the entire car together, why not take a cool picture?

“Some assembly required” is a pic you probably saw on IG or Facebook.
This gave me the energy (and a coffee) to really start tackling assembly the car. I really took my time here. The last thing I wanted to do was scratch the hell out of my freshly painted parts (which I did a few times).

I started on the front end. Finally seeing the MadPSI fenders in paint was a dream come true. I think I’m the first person to have a set of these painted!
Lining up the front end of a car where only the bumper is still OEM is a test in patience. Lots of lining things up, closing the hood, adjusting, rinse and repeat.

Oh yeah, I tinted my fogs yellow. JDM points.

Remember my front strut bar I made? I also painted it and got it installed.
After the front end, I moved onto the sideskirts. The way the border skirts integrate with the fenders really ties the room together.

I also incorporated some finishing touches on the fender install. I cut some rock guards out of HDPE plastic. This will keep rocks and dirt out of the door hinge area… I hope.
I also still had some black vinyl. It was perfect to use for more stone chip protection on the sideskirt.


I worked late into the night. Installing the flares, wing, and finishing the sideskirts.

The LM’s got a good ol’ spitshine. 3 years of hard use and what most would call neglect… they cleaned up enough. I added some bling-bling BBS stickers since I keep losing the real centercaps. Gotta flex my wheels somehow. I REALLY need to sort out new tires. Why can’t anyone make a decent 200tw tire in 275/40/17?

I’m really happy how the flare-sideskirt interface came out. I never thought the Border skirt would be such a drastic change from the Greddy, but it was. It makes the cars width really noticeable, and sit about an inch lower than the Greddy skirts. I really lost sleep over it… laying awake in bed trying to figure out how to make it look good. Something all us tinkerers have done. The fact that I kept is simple stupid really paid off here. Sometimes you just gotta start cutting til it fits.

I got the car down on the ground and immediately realized the front wheels were going to interfere with the lower bumper flare I made. So I had to rethink it completely. I trimmed the side marker light plastic, and built a bracket to hold it flush where the fender and bumper meet. This gained me about 3/8” clearance. The rest I gained by adjusting my caster back another 1/4” with the Wilhelm strut rods. I still need a legitimate alignment (more on that later!) but we’re driving straight now.
This picture also really shows the orange peel I will be dealing with on the fender. That’s basically all over the car. So, we still have a lot of elbow grease to rub into the new paint to get it looking decent.
The car was assembled, and I could turn! The weather was uncharacteristically beautiful and I had lots of time off work, so let’s go for a quick rip!

This also gave me a chance to try the new exhaust out. As expected, it’s stupid loud. Definitely a track only kind of thing. Lots of room there for more aero though…
It’s funny how the car looks almost plain jane in these pics.

This shows the depth of the new paint. Black as night! Clean wheels too (that won’t last).
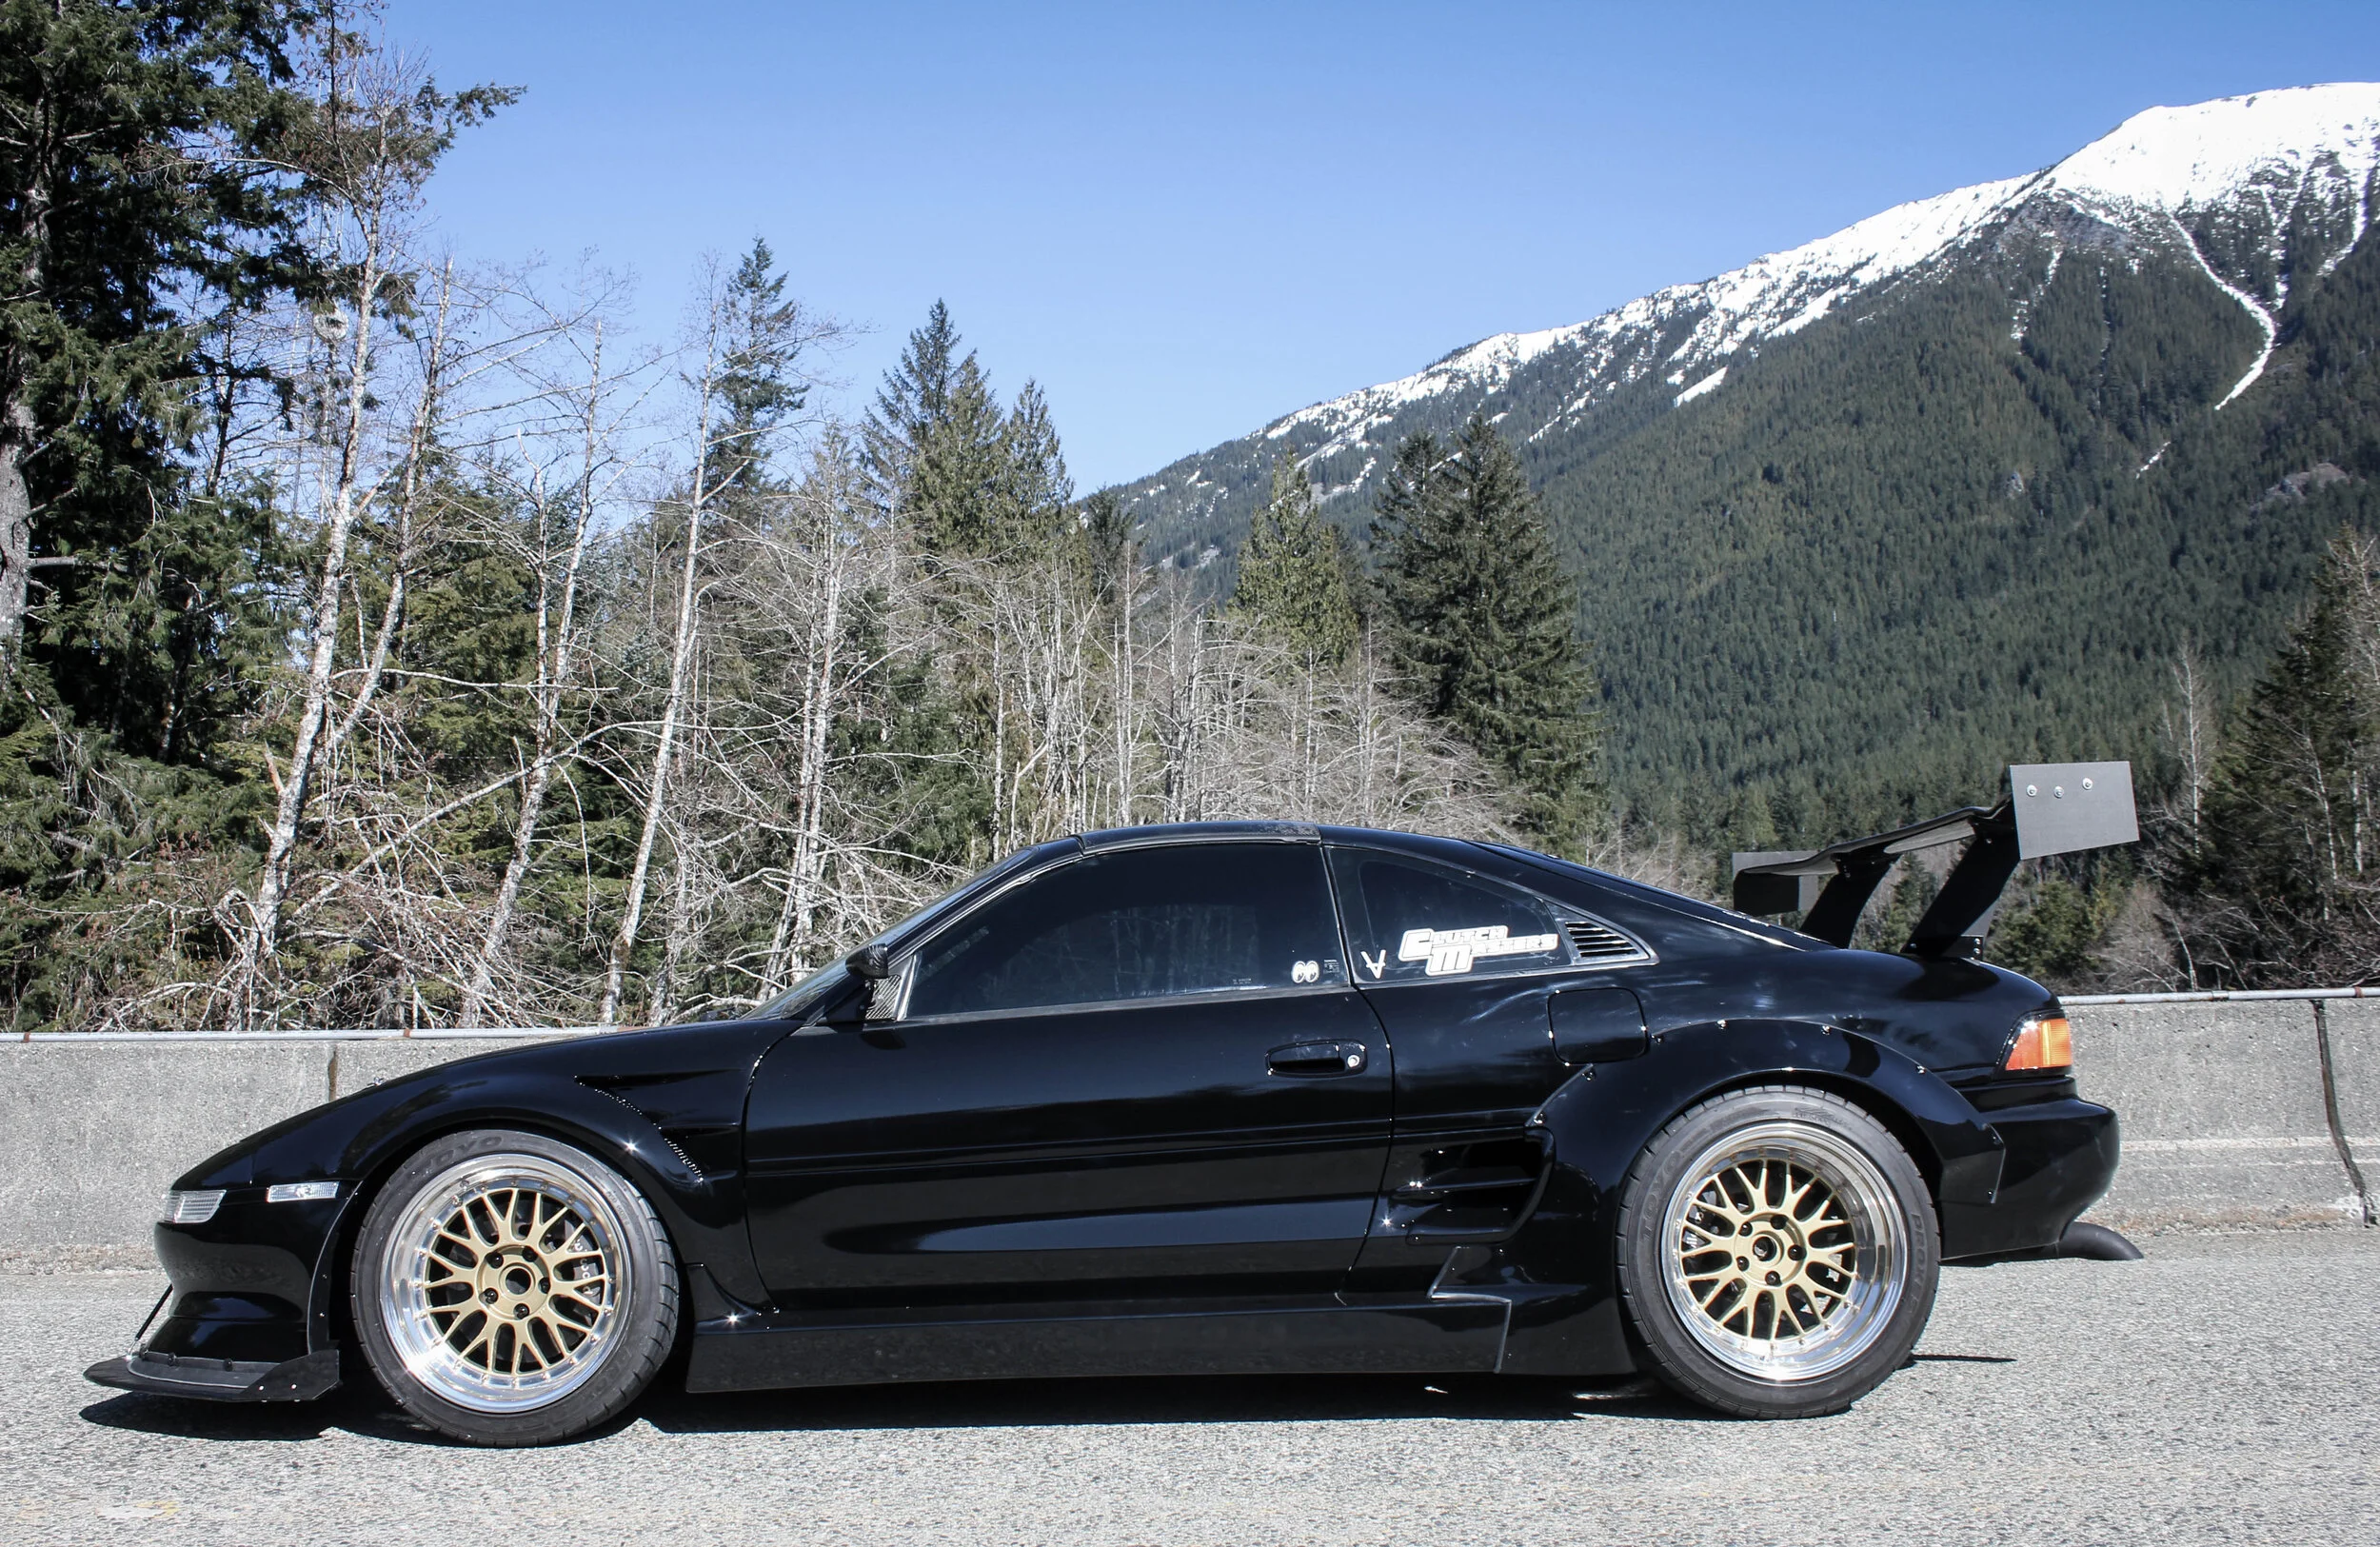
More washed out pics, the sun was really wreaking havoc on my old DSLR. I REALLY like the side profile fo the car now. The new side skirts make such a subtle, yet aggressive change. The tint also adds some sleekness to the exterior.

I pulled into the shade to get a few pics without so much in-your-face glare. It’s been an amazing spring here in the PNW, which has made my stay-at-home time much more bearable with the coronavirus outbreak.

I hope you’re all safe, happy, and healthy during these strange times. Maybe even productive on those projects you’ve been meaning to get done.
I know I have!
Lots more to come soon. More fabrication, alignments, paint correction, and hopefully some track time over the next month.