
2020, Let's Go!
2020 Here We Are!
Remember my last post about making goals for every year? Well, I made mine. The big ones you guys care about are car related:
Blog Post Once a Month - Good news for you avid readers, more content!
ToyotaFest - That’s right, drive the car from Seattle down to LA for the Toyotafest carshow in early June. I’ve wanted to go for years, and think this is the year to make the trek.
Compete on Track - Whether it’s in my car or not, I want to actually compete in a racing event in 2020. Lucky Dog Endurance racing, Hillclimb, Time Attack, Lemons… I want to test my driving against others. If I have to… even an Autocross will suffice.
MR2 Ridge Lap Record - This will be a tough one... The current fastest MR2 lap I know of at The Ridge is a 1:53.8 by Randy Pobst in a 2gr endurance SW20 (Look back a few posts, I document it here) My current best lap is a 1:57.1.
Finish the “Build” - I have some really cool ideas left to pursue in this old rig, and that’s why you’re reading along, right?
So, a lot to look forward to this year! I have quite a large spreadsheet with all my “Final Form” modifications I want to make to the car. I’ve been chipping away steadily all fall and winter. Let’s start with the interior!
I recently weighed my car again at a local transfer station. #2550 empty! That’s getting pretty respectable considering my 309whp, approximately 8.25 pounds per horsepower. But I always knew there was more weight to be saved deep inside the bowels of the interior.

After a LOT of colorful language, the dashboard finally released itself from the clutches of the chassis where it was set 25 years prior by some humble Japanese craftsman (or craftswoman). Follow the BGB, it really helps outline all the attchments to the chassis. Once removed, we could go deep into the guts and try to find stuff I no longer need or want.

Lots of airbag system I never had the access to remove! Couple of easy pounds. Then, I turned to the HVAC system to see what else could make me more uncomfortable when removed. Overall I was able to fill this box with unneeded parts.

The AC cooling unit! Here’s the part of the HVAC system it came from.

Since I didn’t want to leave a gaping hole in the HVAC system and warrant the fan (on the right) useless, I decided to gut the unit and keep the housing.

I then reinstalled the plastic housing back in its home. Another 5ish pounds saved!
The MR2 dash can be annoying. During good weather track days, polarized sunglasses are mandatory. The glare coming off the dash seemed to distract me more and more. With the dash out, I decided it was time to make a permanent fix.
Time to flock it!

Flocking is very small fibers you glue to the dash. The end result is like the inside of a jewelry box, soft, and doesn’t reflect any light. It’s surprisingly more durable than you’d think. As cool bonus points… all WRC rally cars run flocking on their dashes to reduce glare.
With the dashboard out, I cleaned it up and stripped all the vents and little pieces.

The kit is from flockit.com. Included is glue, flocking, and applicators. They have many colors, but black is best. The glue matches the flocking fibers. The timing is very important. You only have about 10 minutes to flock the dash after the glue is applied. So, my wife was called into the shop to help.
I applied all the glue with a roller while the wife brushed the smaller areas.
Then, you fill the applicator and start puffing the flocking. Be quick… time is ticking.


Once your timer hits 15 minutes… it’s about as flocked as can be. Give the dash 24 hours to cure, and then shake/gently blow off all the fibers that didn’t stick.
The result is pretty sweet! Almost like alcantera or suede.
Before re-installing the dash, we had a bunch more interior mods to do. When I built my rollbar, I thought “hmm, you should tie it into the roof for more chassis rigidity.” But, I never did. So, now was the time.

CAD - Cardboard Aided Design. A simple shape was cut and fit. Then I transferred it to some scrap sheet metal.

Tacked in. I then totally spaced on pics after welding to the chassis and paint. But, you get the point. I did two of these plates above the driver and passenger heads. Yes I know I didn’t do real dimple dies, I discovered an easy way to make dimple dies with simple tools via youtube AFTER they were welded in. My bad. It’ll still help with rigidity at a very small weight cost.
Another project I’ve wanted to tackle ever since I bought the car… was the window tint. The car had a tint…but it was lame. Like 10%. Barely visible. Over the years it’s gotten rough. Streaks, a few small cracks, and overall just dingy. I’ve never tinted windows before, it can’t be that hard?

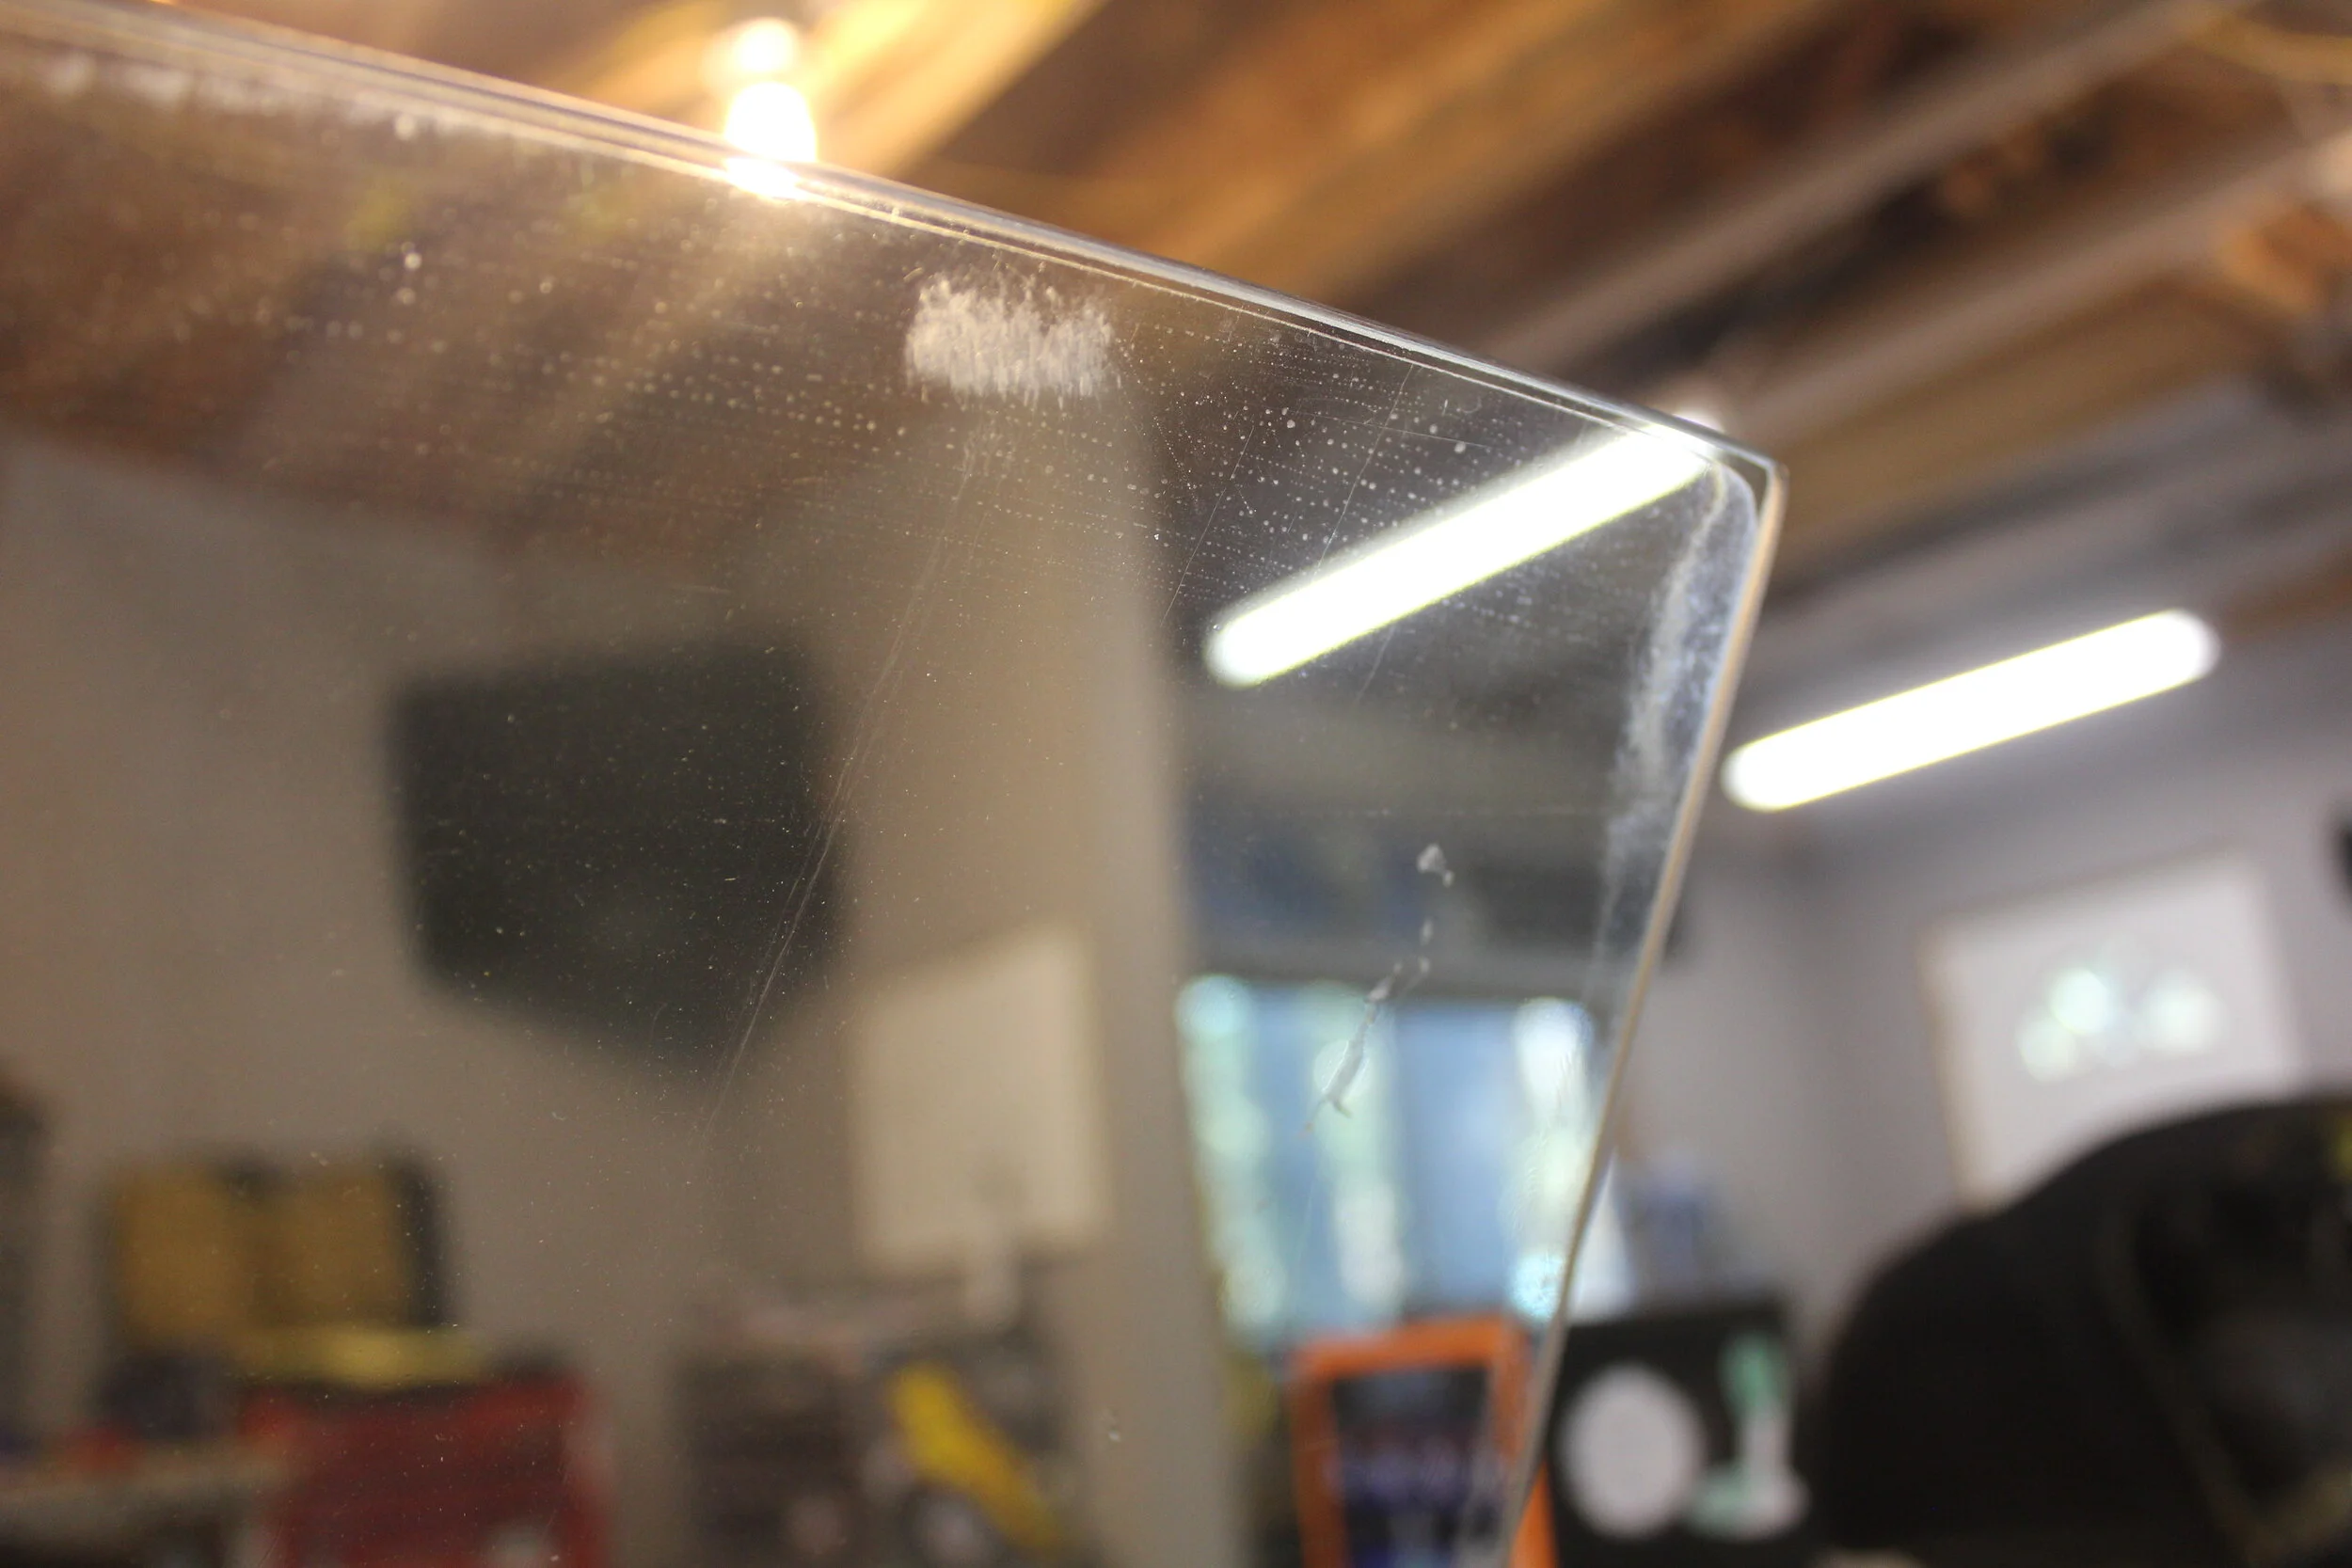
First, I needed to remove the old tint and clean up the windows. To be fair, I was only going to tint the front glass and rear quarters. Since I have the F40 lid over the engine most of the time (when it doesn’t fly off at 100mph), I didn’t see the need to mess with the complex shape of the rear window.
To remove the old tint… the easiest way I’ve seen is to use a clothes steamer. My local Target came to the rescue.

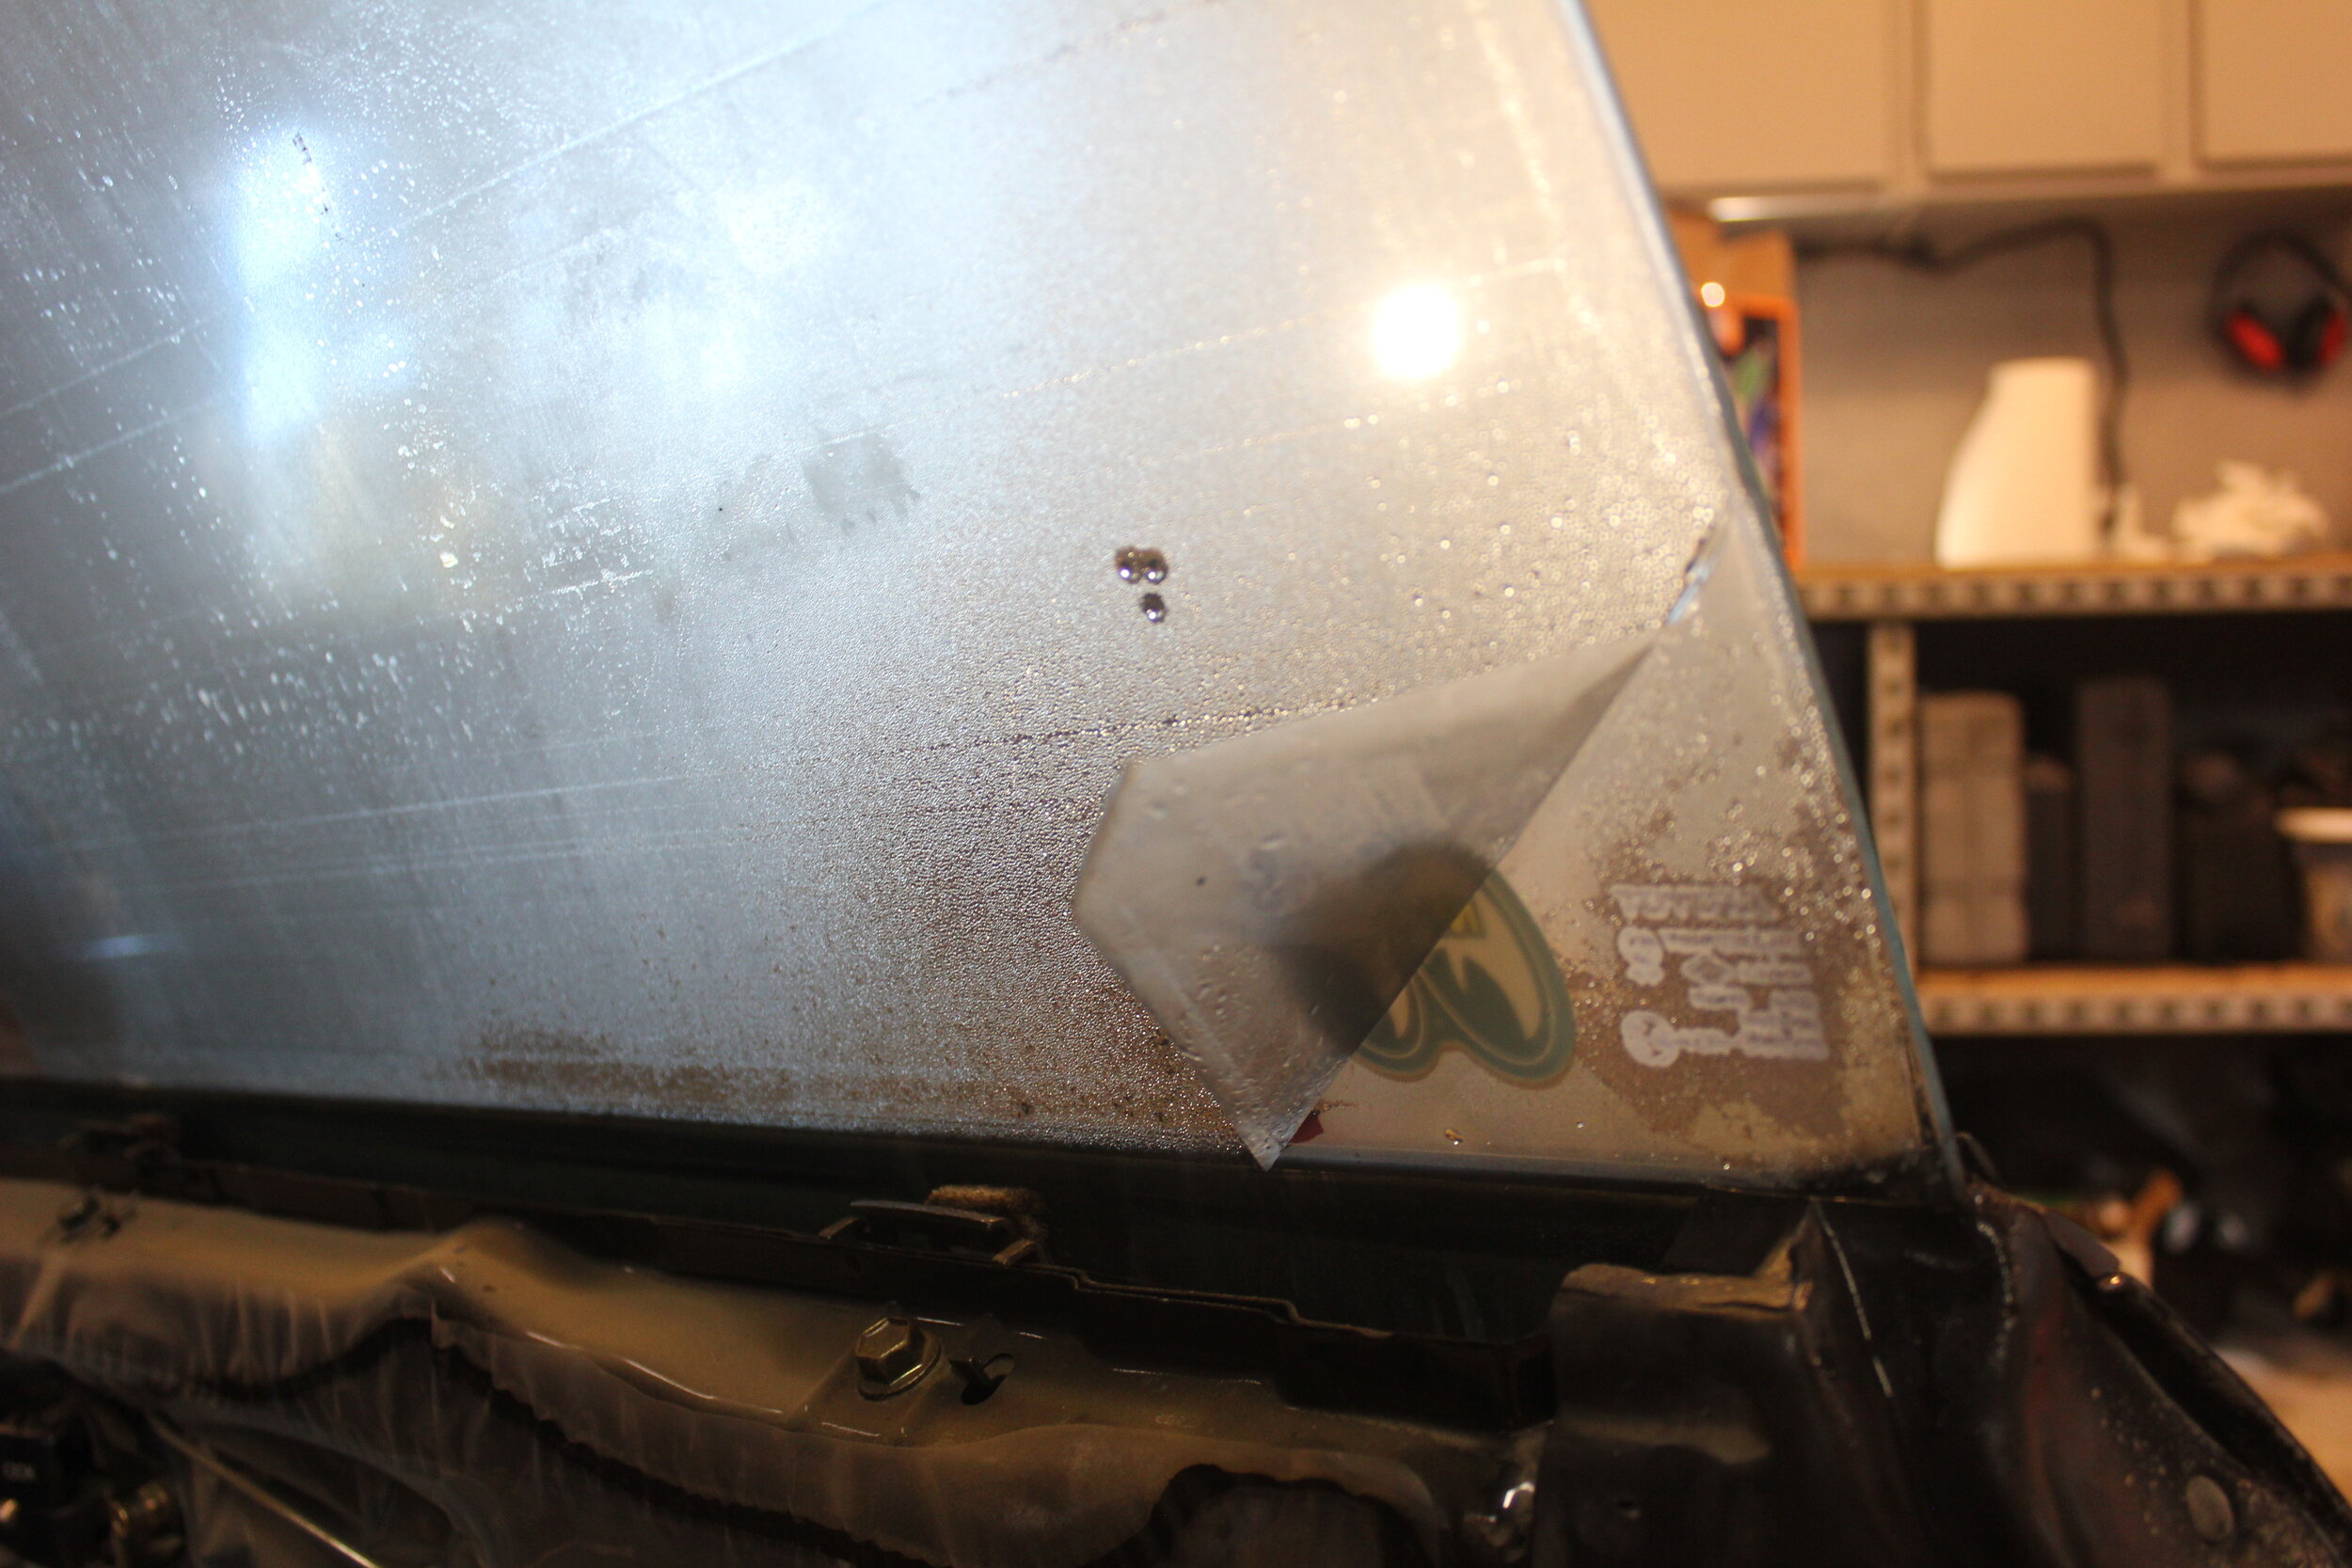
Once a corner loosens up, you can start slowly peeling away. Once the tint comes off you’ll still need to take a razor blade to it to remove all the leftover glue.

While all that work has been going on, this was the huge pile of interior parts I was working my way around. It’s amazing how all the parts add up.
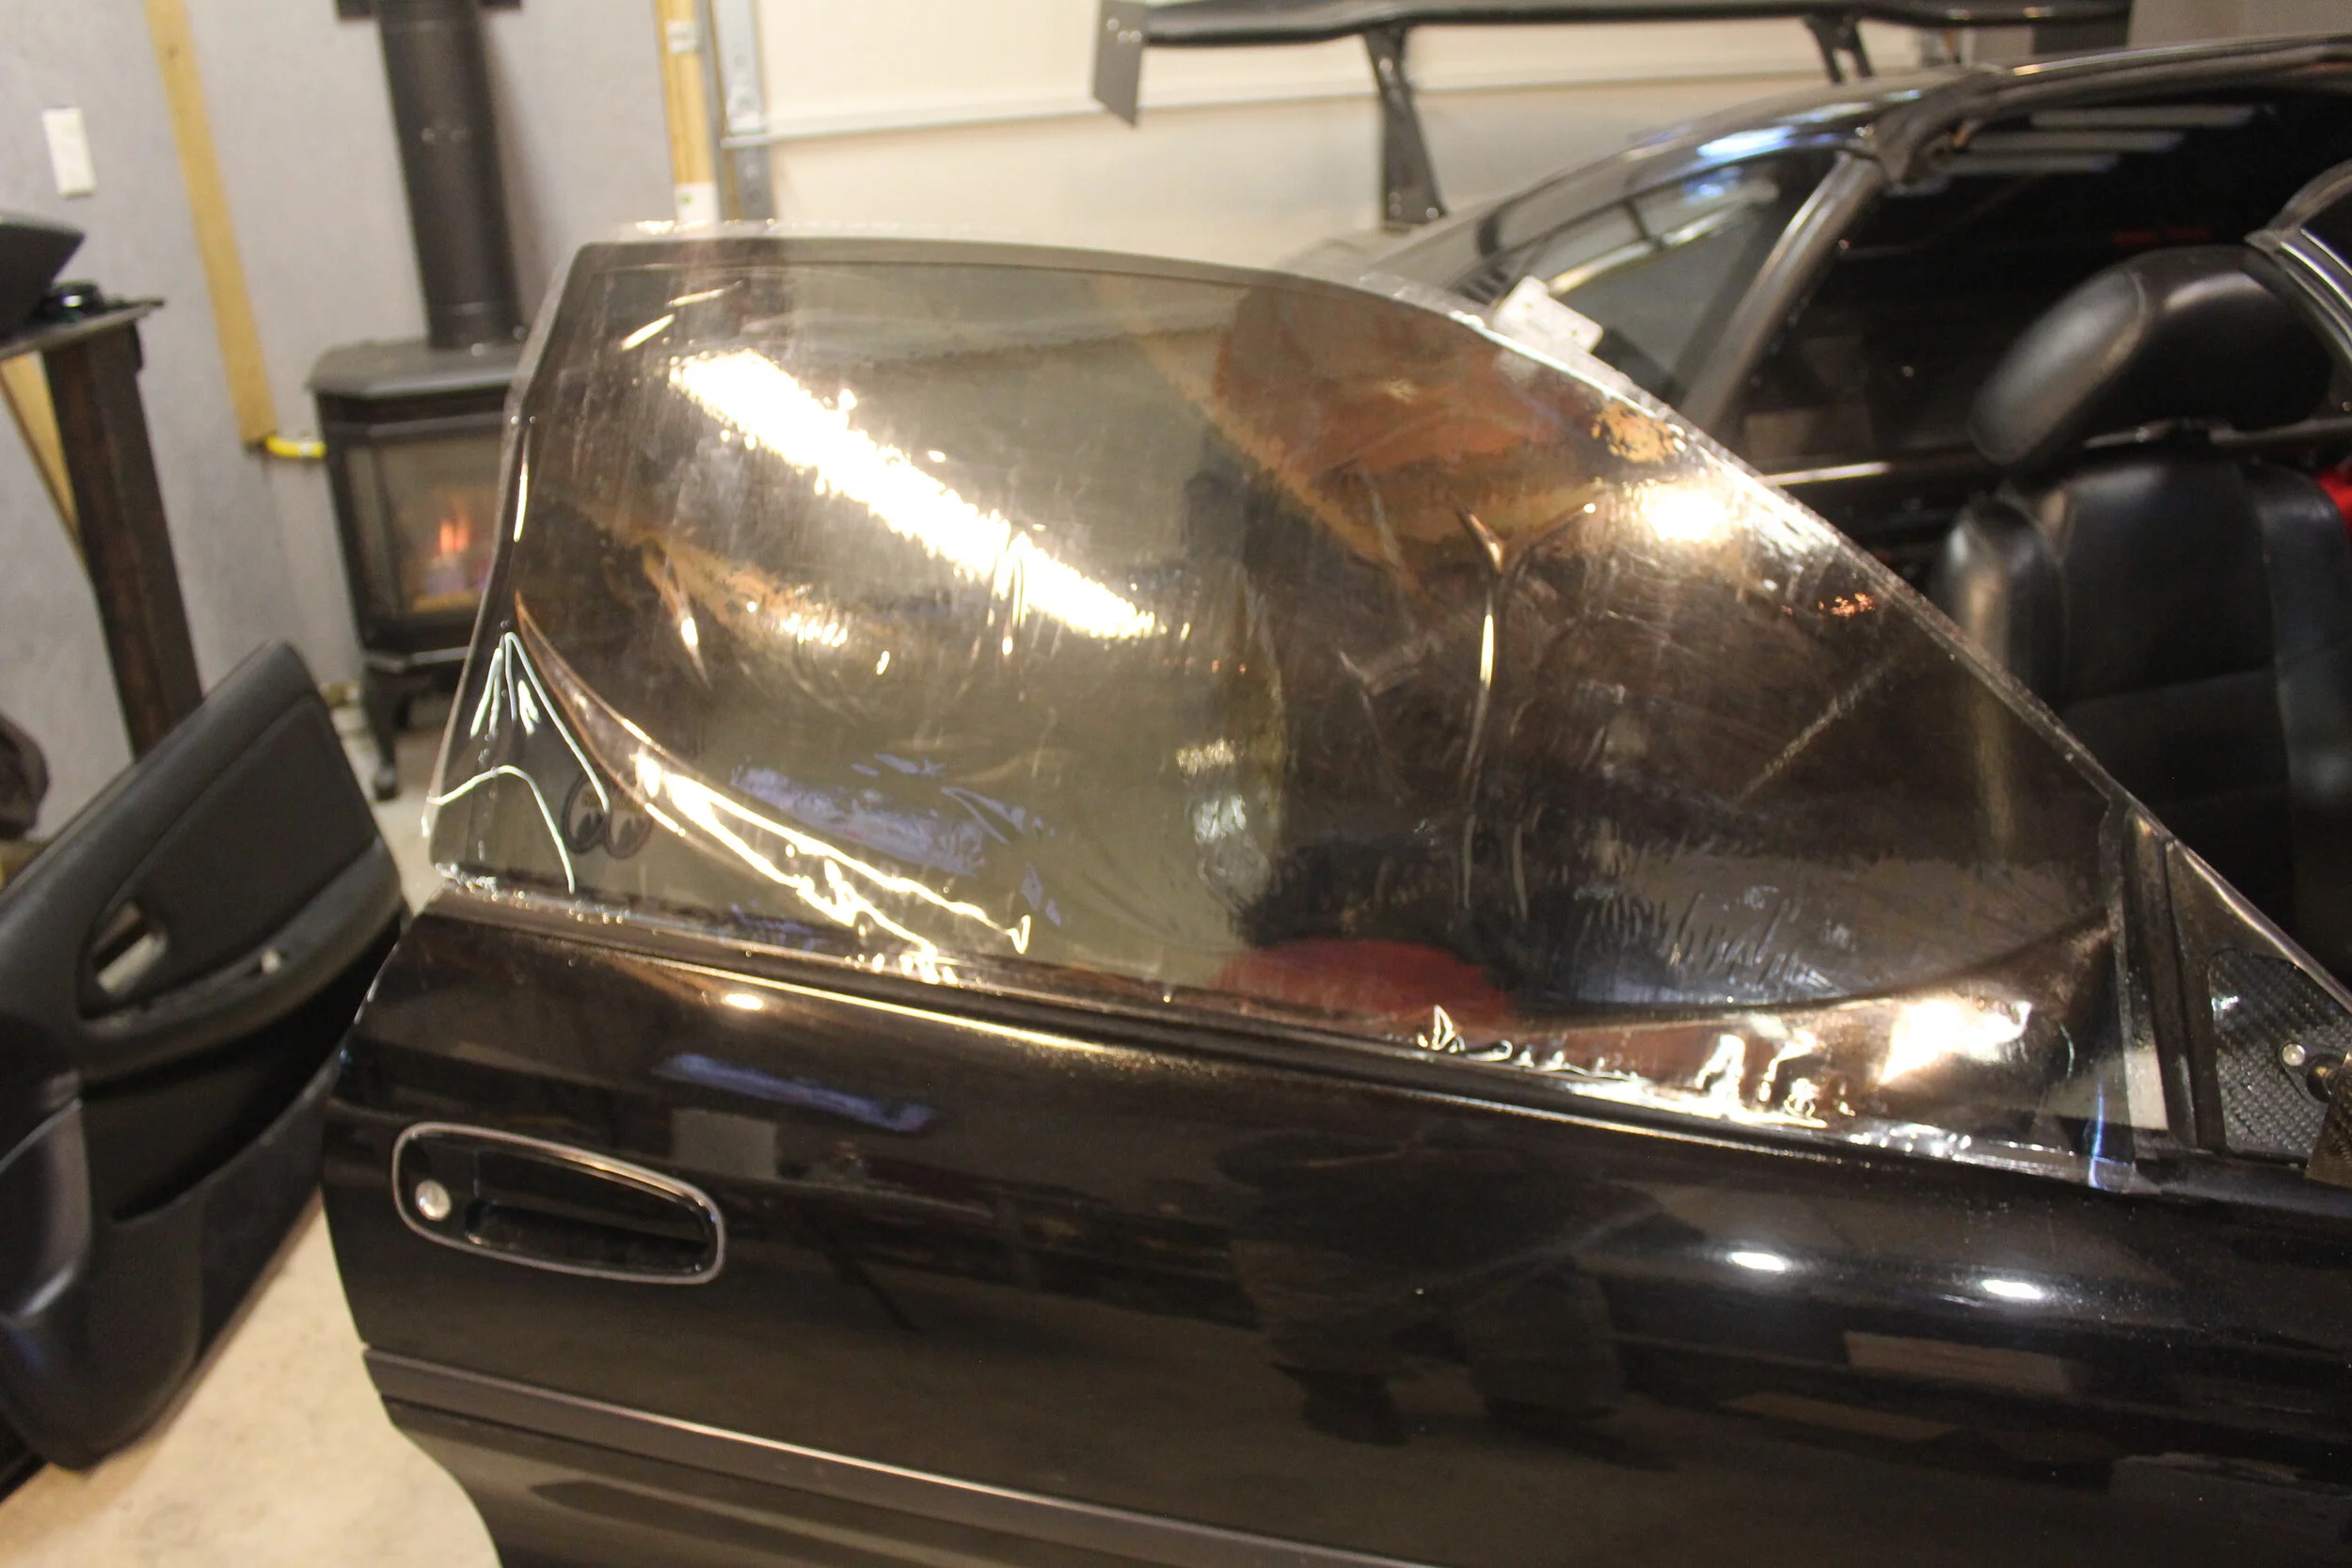
Once the glass was ready, I sprayed the window down with a water/soap mix, and carefully applied the precut tint (thanks Arthur!). Then you squeegee the hell out of it for a long time working out all the bubbles and creases. Never done it before? Watch youtube. That’s how I learned.
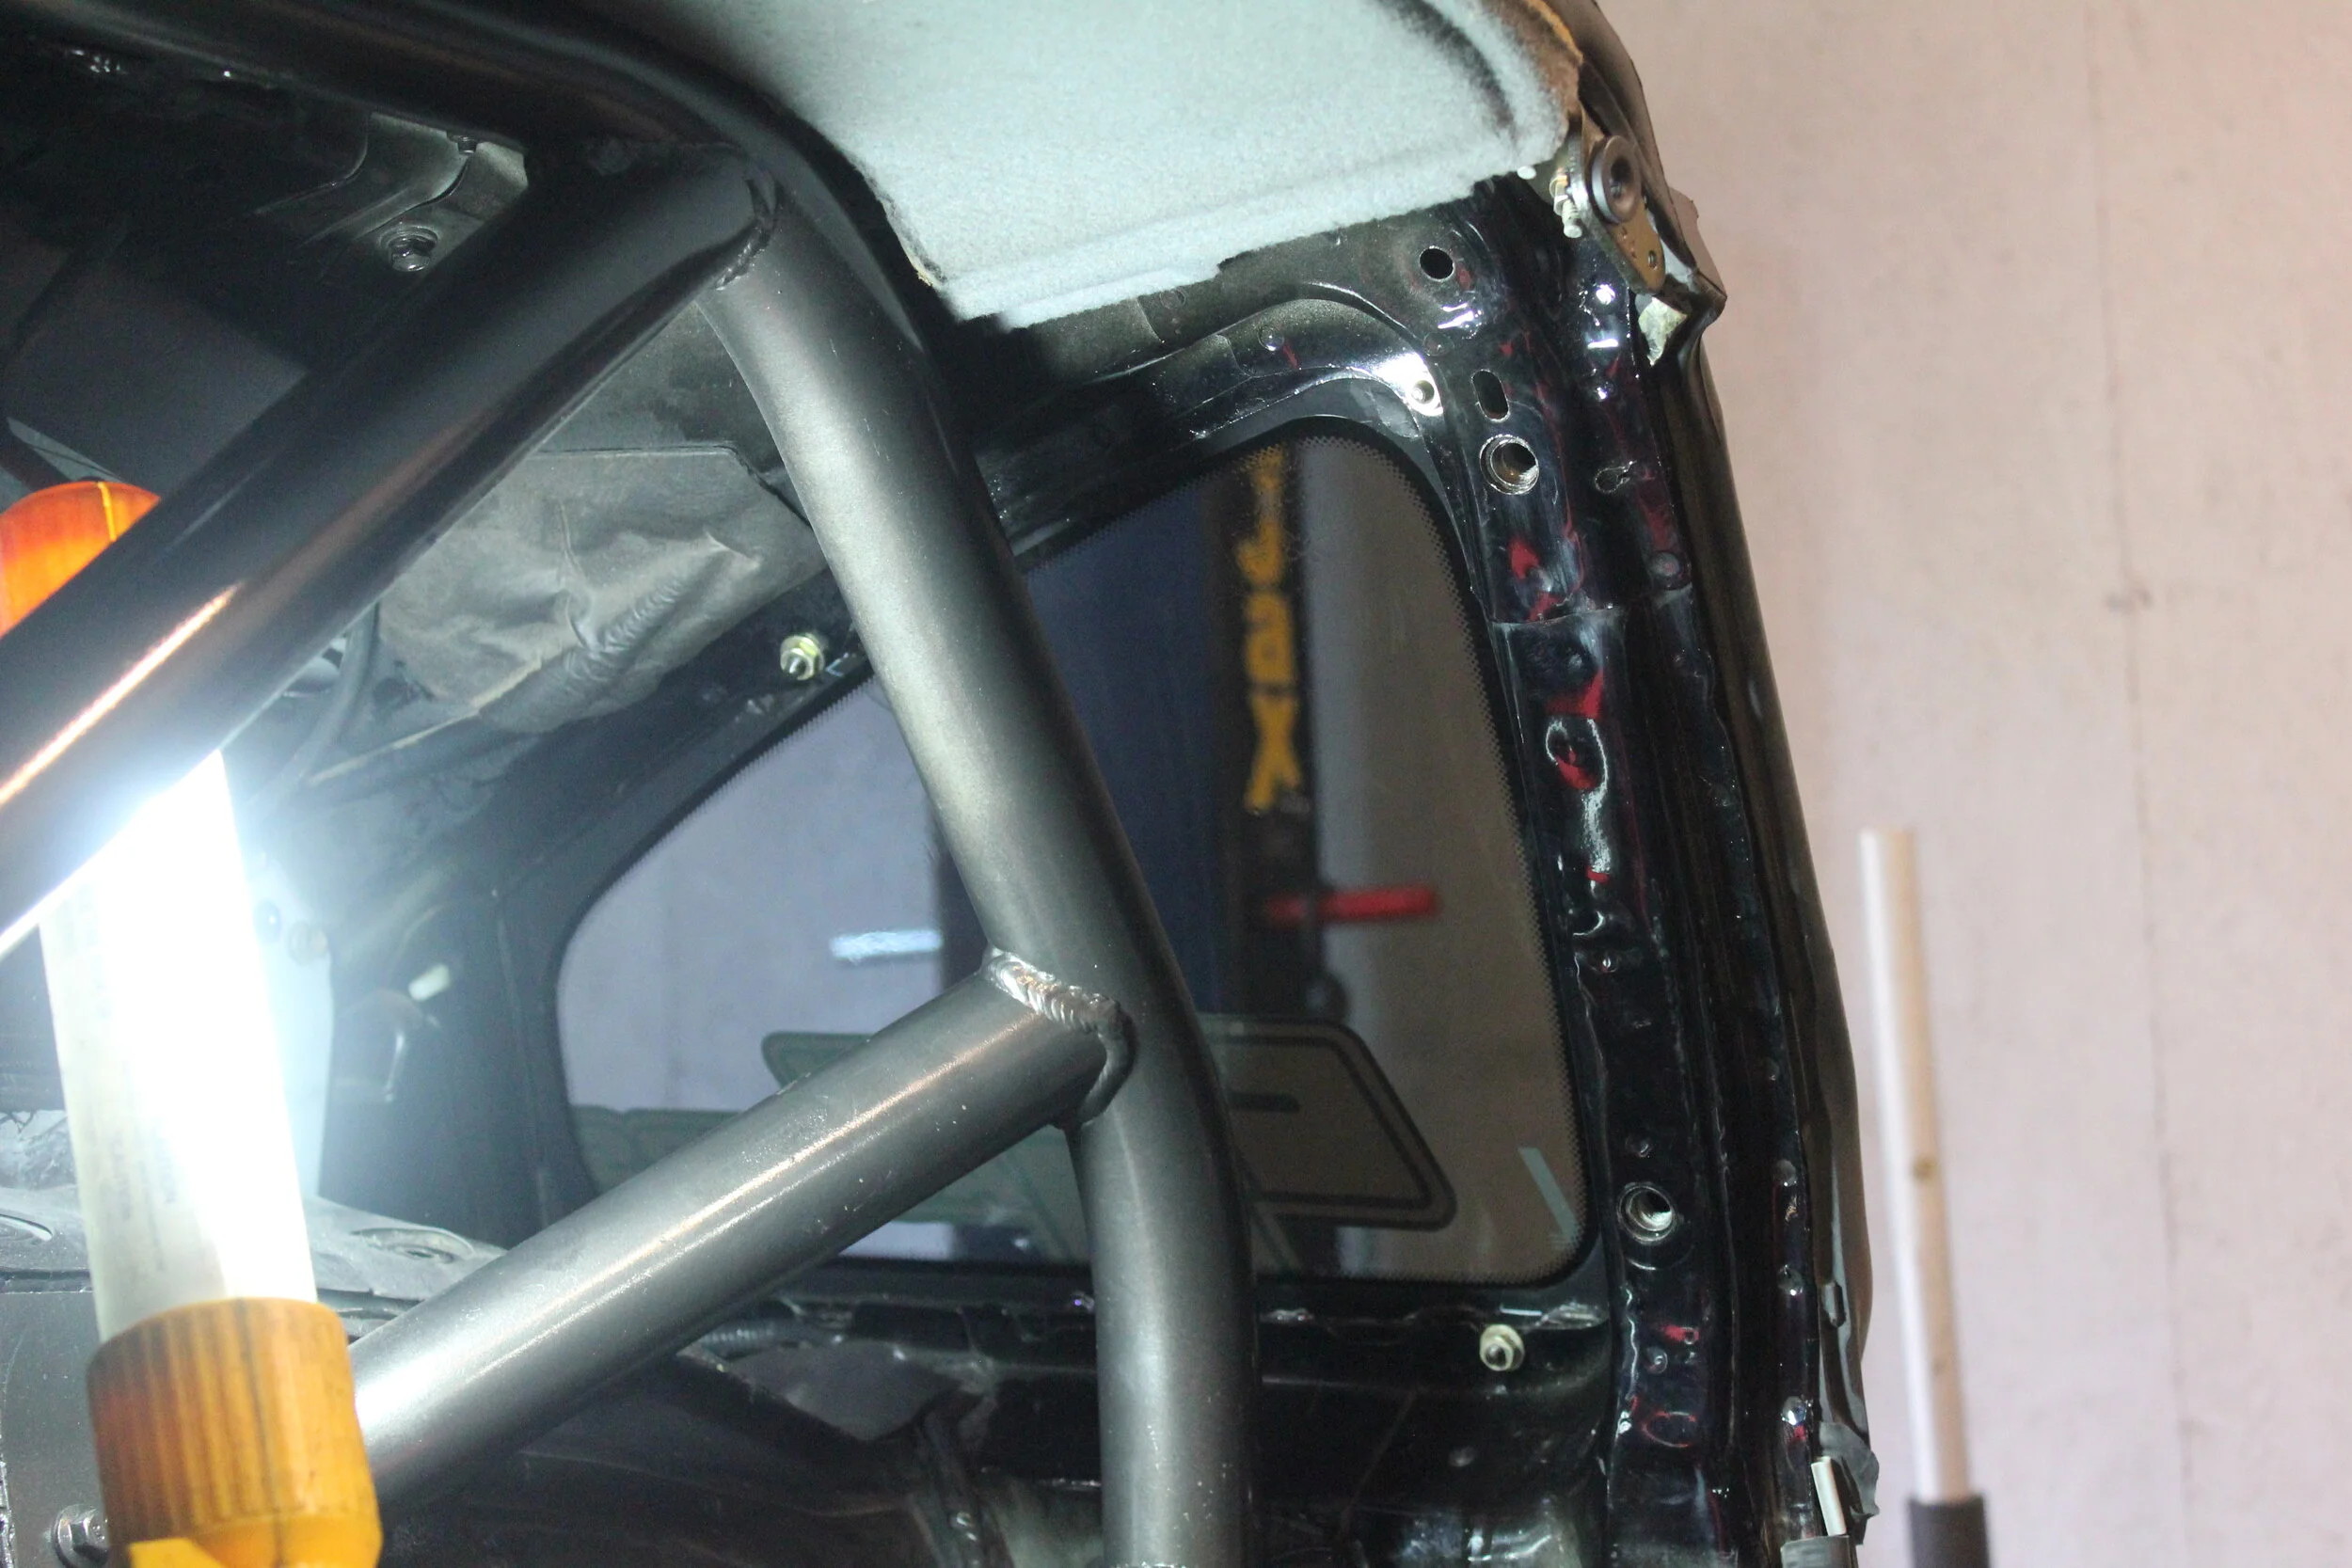
Working around the rollbar while applying the rear quarter tint was, challenging. But, I prevailed! UV rays, no more!

Dannnnnng, looking sleek! Overall, the job definitely isn’t perfect, but I’m happy. And, it was pretty much free due to a friend supplying me the tint.

While the doorcards were off, I installed the front speakers from my old MR2 I’ve had sitting in a box for 4 years now. The speakers in the car were getting real fuzzy on me… turns out they didn’t even match. One was OEM, the other was Aiwa brand. In went my Walmart Pioneers.
With the interior in pieces, it was also a good time to refresh my floor paint job. To help with the wear and tear my shoes cause in the pedal area, I deiced to try some roll on bedliner in that area before painting it.


More details. Ever since I put a windshield banner on my car, I never used my sun visors any more. So, off they came. No need for that pesky weight (they’re pretty light.. but if I don’t need them, they’re gone). Once removed, they left some nasty holes in my headliner.

Armed with cardboard and some scrap carbon pieces, I went to work.


Ta-da! Some cool carbon blank offs.
Another huge area of attention in my interior was the passenger seat. It was original, and it was shot. The leather is super cracked, and the seams were all failing. I will say, the OEM MR2 seats have always surprised me. They really are good. I searched for a decent leather passenger seat, but nothing came up local over about 6 months. With recover kits costing $500+ (and only sold in pairs), I decided to make a generic seat fit.

Bought from Jegs, these seats have pretty good reviews. So I thought I’d give it a shot. After all… I won’t ever be sitting in it.
But, they needed a mount solution.

So, I took apart the OEM seats and started cutting the OEM slider apart.

Armed with some angle iron, I was able to tack it up. The angle was spaced so it would hit the mounting points on the bottom of the seat.

Once tacked, I pulled the bracket out and welded it up.

The bracket drilled out and test fit. Looks like it’ll work!

Clean it up with a bit of paint, and we’ll install the next day.

So much better than a destroyed passenger seat. The side bolster was rubbing on the center console, so some soft sided velcro fixed that nicely. The MR2 seats are offset from their seat bracket in these cars which makes seat placement difficult when you’re trying to fit something universal like this seat or my Sparco race bucket. But, with some massaging from a hammer, and creative wrenching.cutting/welding, you can get it to fit nicely.
Another thing I’ve neglected over the last year was my rear view camera setup. After the swap it stopped working, and I just took out the monitor for the time being. It never was a very good setup anyways, if you had to remove the radio, you had to take everything apart in a very finicky way, usually resulting in me yelling at myself for a half-assed bracket design. So, I came up with a new idea. Once I fixed the broken switch and got the camera working again, I built another bracket to hold the monitor and will be using more heavy duty velcro to hold the relatively light monitor in place. I also took apart my windshield sucker phone holder and devised a way to mount it to my empty DIN space. Scrap carbon piece to the rescue again! The benefits of being a hoarder.
I bolted the phone holder through the carbon, and glued it to the DIN slot with panel bond.

It’s a simple system, and is easily removable when I need to get the radio out (which is more frequent than you’d think).

Here’s a bad picture of a very dark interior and very bright lights from the monitor and phone. Should work great on track, and won’t flop all over the place like my old phone holder. Since I use the Harry’s LapTimer app for timing my laps, my phone is necessary. Everything is still accessible and easy to read. The dash looks pretty good too.
With the interior “finished” I took her out for one last burn up my favorite road near my house. It was a beautiful fall day, and snow was in the forecast so I knew this would be my last time up this road until April (Seasonal road, closed all winter under 5’ of snow).

Needs paint. (coming soon)


One of my favorite shots in awhile of my car. As the sun sets on another driving season… wrenching season starts up!