
Displacement Replacement - Part 2
During our last episode we had prepped the engine to the point it was ready to install. Now we had to get the rest of the car ready.
Remember my old turbo setup? Way over the top with a big trunk mount intercooler? Sure, you remember!

While having the trunk popped at meets was cool and all, not having a trunk turned into a bigger inconvenience than I ever thought it’d be. I rarely use the trunk… except for track days… When you bring half your tools, loading up the frunk and passenger seat turned into a hassle.
With that setup gone, we had a massive hole between the trunk and engine bay. We needed to plug that up.

Yep. Big hole.

Luckily a local MR2 guy had a parts car he was slicing up, so I grabbed the rear firewall from him. I was able to cut out the part that was a pretty decent match to my hole.

MR2 sheet metal is thin. My dinky welder has 4 heat settings, and the lowest heat still burns holes in the sheet metal…so I’m relegated to hundreds of tacks, and then the flappy disc on my grinder to smooth it out.

In the trunk, I used a small backing piece to help everything look decent in the engine bay. Not too worried about the trunk looking good, I think a bit of sanding and paint will clean it up just fine.

In the engine bay, I added some filler to help fill the cracks and gaps. This was before the final sanding and primer.

Now we degrease and scuff the whole damn bay!

Couple cans of Krylon and the bay looks factory fresh. I never got a pic of the filled in hole but it’s barely noticeable until I point it out to most people. Good enough for government work.
Since the engine bay was empty it was time to tackle a weight savings project I’ve wanted to do for a long time. Remove the heater core hardlines and tee off the main coolant lines for heat in the cockpit. This “mod” removes some complexity from the cooling system, clutter in the engine bay, and saves water weight in the chassis.
BUT, this meant removing the dreaded gas tank. Honestly, a HUGE selling point of this car was that the fuel pump had already been upgraded, meaning I would never have to drop the tank in theory. Well, here we are a few years later and I’m dropping the tank to save a measly 5-8 pounds.
Thankfully, my MaxJax came to the rescue and pulling the tank was literally a one beer job. Of course I spilled some coolant in the lines when removing them.


Here are the lines in question. They are actually some kind of copper alloy, and brazed together. Interesting stuff since the engine coolant lines that run under the gas tank are steel.

Like any good mechanic (lolz, I’m not good), I pulled the fuel pump and checked everything over, which all looked good. The inside of the tank looked very clean. I then gave the tank a solid spit shine and re-installed.

The next night I had the gas tank back in and ready to go. Now to turn my attention to the coolant lines.

When you test fit the coolant hardlines you’ll see a perfect spot to run tees up into the frunk for the heater core. Right through that void.

Marked the tee location and pulled the lines to drill out with a step bit. Make sure you blow out the lines with air and even flush with water.
No metal shavings in the cooling system!
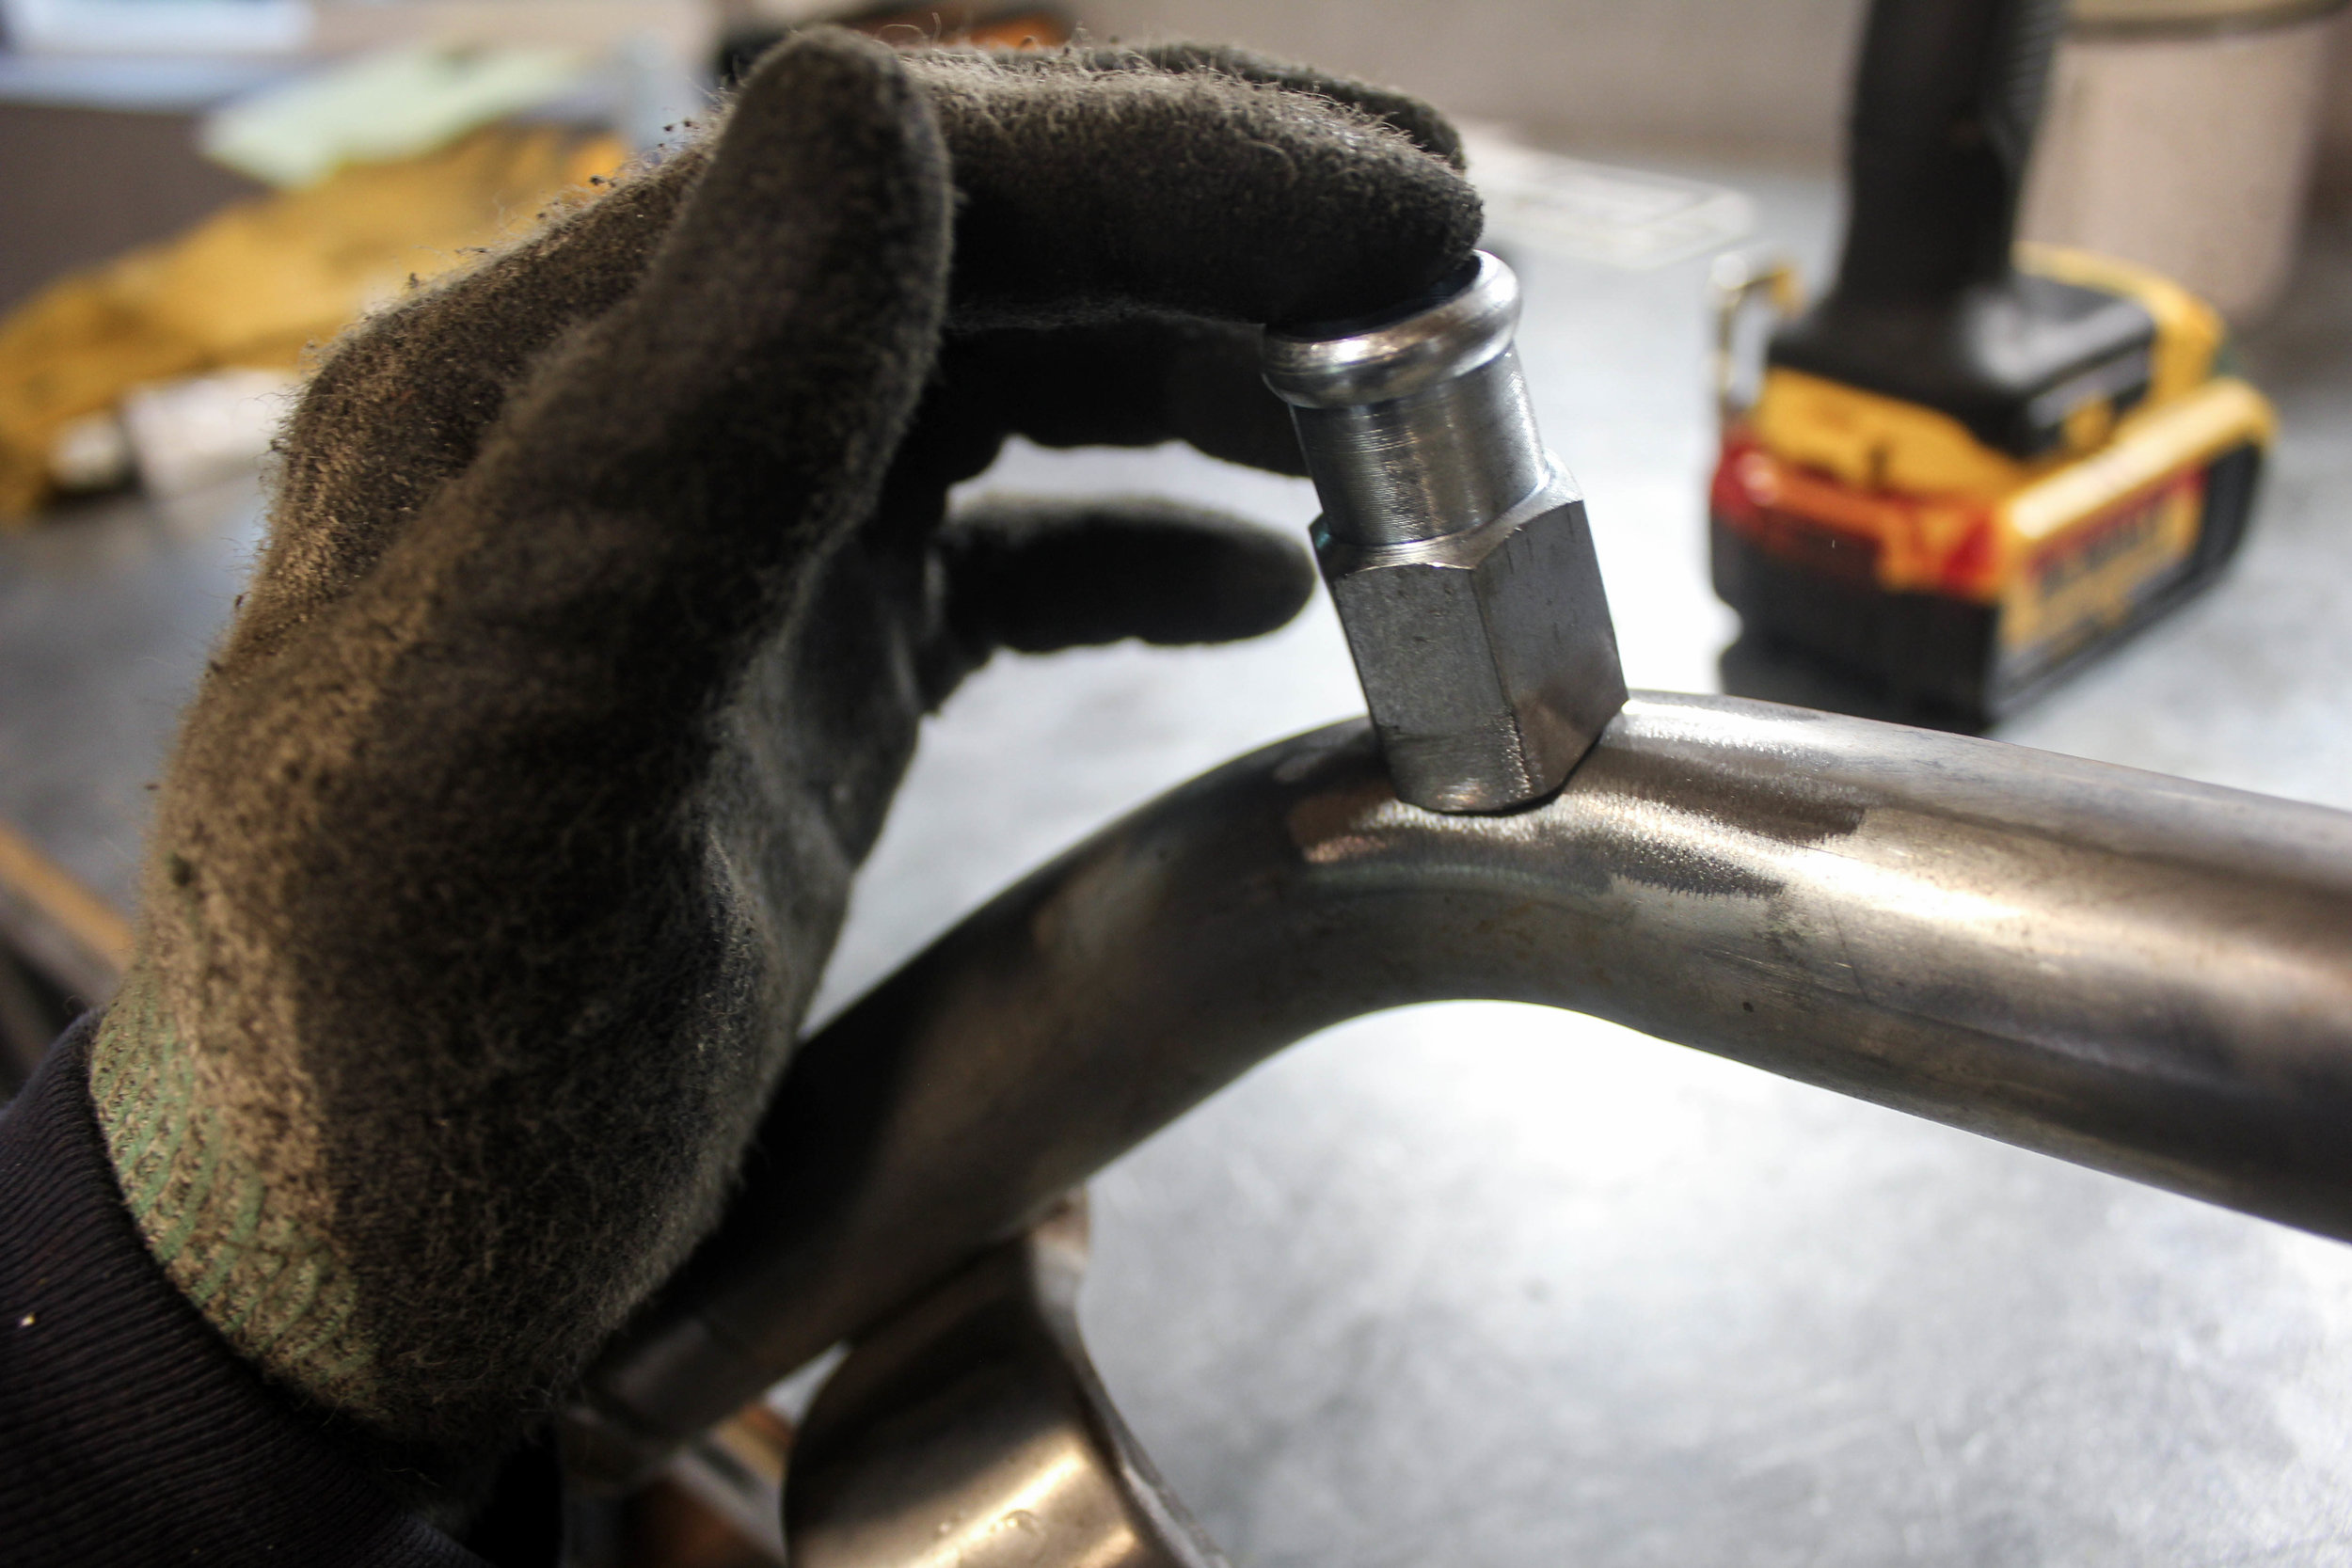
These are some heater line nipples from local auto parts store. I cut them down and shaped with a grinder to fit the curve of the hardline.

Welded up. I gave them two passes for insurance. Then I capped and added air to be sure they held. No leaks!

I painted the lines with some cold galvanize and installed. Then ran some hose up through the void towards the heater core connections.

Hoses connected with some splice connections, again from the auto parts store. Mod, complete.
The 3sgte uses a return fuel system. Meaning the fuel runs through the fuel rail and injectors, and the leftover runs back to the tank. The 2GR uses a retunless system. To adapt the MR2 system to the 2GR, Wilhelm took out all the hard work yet again. Selling a Radium pressure regulator, and special fitting he makes, you can easily adapt the fuel system. Mount the FPR onto the fuel filter, the top fitting runs to the fuel rail (with Alex’s fitting), and the port on the side runs back to the fuel tank. Voila! Fuel system done!

While everything was out I remembered another modification I bought long, long ago. I rebuilt my axles a few years ago with ATS cages to make them literally bombproof. Well… except if the hex bolts back themselves out and destroy your transmission case and axles.

Enter Stage 8 Hardware! From TwosRUs, the kit includes new bolts for the axles, the special locking washers, and circlips. Simply remove the old hex bolts, install the new bolts, washers, and circlips.

Tip: remove the bolts one at a time and install the new bolts. This way your axle won’t come apart and make a real greasy mess. Greeheeeseeey.
Speaking of the axles, we needed to figure out how to mount the passenger axle.

The Toyota axle carrier bracket doesn’t quite line up with the carrier bearing on the axle. There’s a few ways to remedy this. Pull the bearing, machine the axle, build a spacer, and reinstall. I chose a simpler route, which so far has worked great. I just ovaled out the bracket mounting holes so it could shift over the 1/4” needed.

TaDaaaaaahhhhh.

Axle, in and supported.
Now onto the most intimidating part of all engine swaps. The wiring. While researching this swap, I thought I could handle it. It was far and beyond my normal wiring skills. But, determination will prevail! …maybe. So I got to work modifying my 2013 harness to work with my 08 rav4 ecu.


By moving 44 pins in the main connector, the B connector was ready for the ecu.

I also had to build a harness for the drive by wire pedal. This required 6 wires run from the pedal (from a camry) along the same sill route as the main harness and back to the ecu A connector.
I also had to install the pedal. Which was a much bigger hassle than you’d think. Trust me on this one, remove the driver seat! Your back will thank you as you contort like Harry Houdini to get the pedal in there correctly.


We also needed to wire in the OBD2 connector. You can pick one up from amazon pretty cheaply, I plan for mine to live in the trunk with the ECU and fusebox.
I’m not gonna lie, I put a TON of time into attempting to get the ‘13 sienna/rx350 harness to work. Solid weekends, 6-8 hours at a time. But in the end, I could not figure out the fusebox side of things. I had just gotten in over my head. It was just too complicated for my reptilian brain to understand. I did learn to kind of read a wiring diagram and a bunch of V6 MR2 guys were a HUGELY helpful, but in the end I waived the white flag and bought a 08 Rav4 engine harness. This will be much easier to adapt to the Rav4 ecu and the MR2 fusebox.

While waiting for the new harness to show up, I said screw it and installed the motor. Using my homemade cart I could just lower the car onto the engine. Overall, it almost went too smoothly.


Engine in, the engine seems so massive on a stand, but fits right at home in the bay, with a surprising amount of room.

When I went to install the front motor mount, we had a few clearance issues I had missed before. Out came the grinder and away went the aluminum.
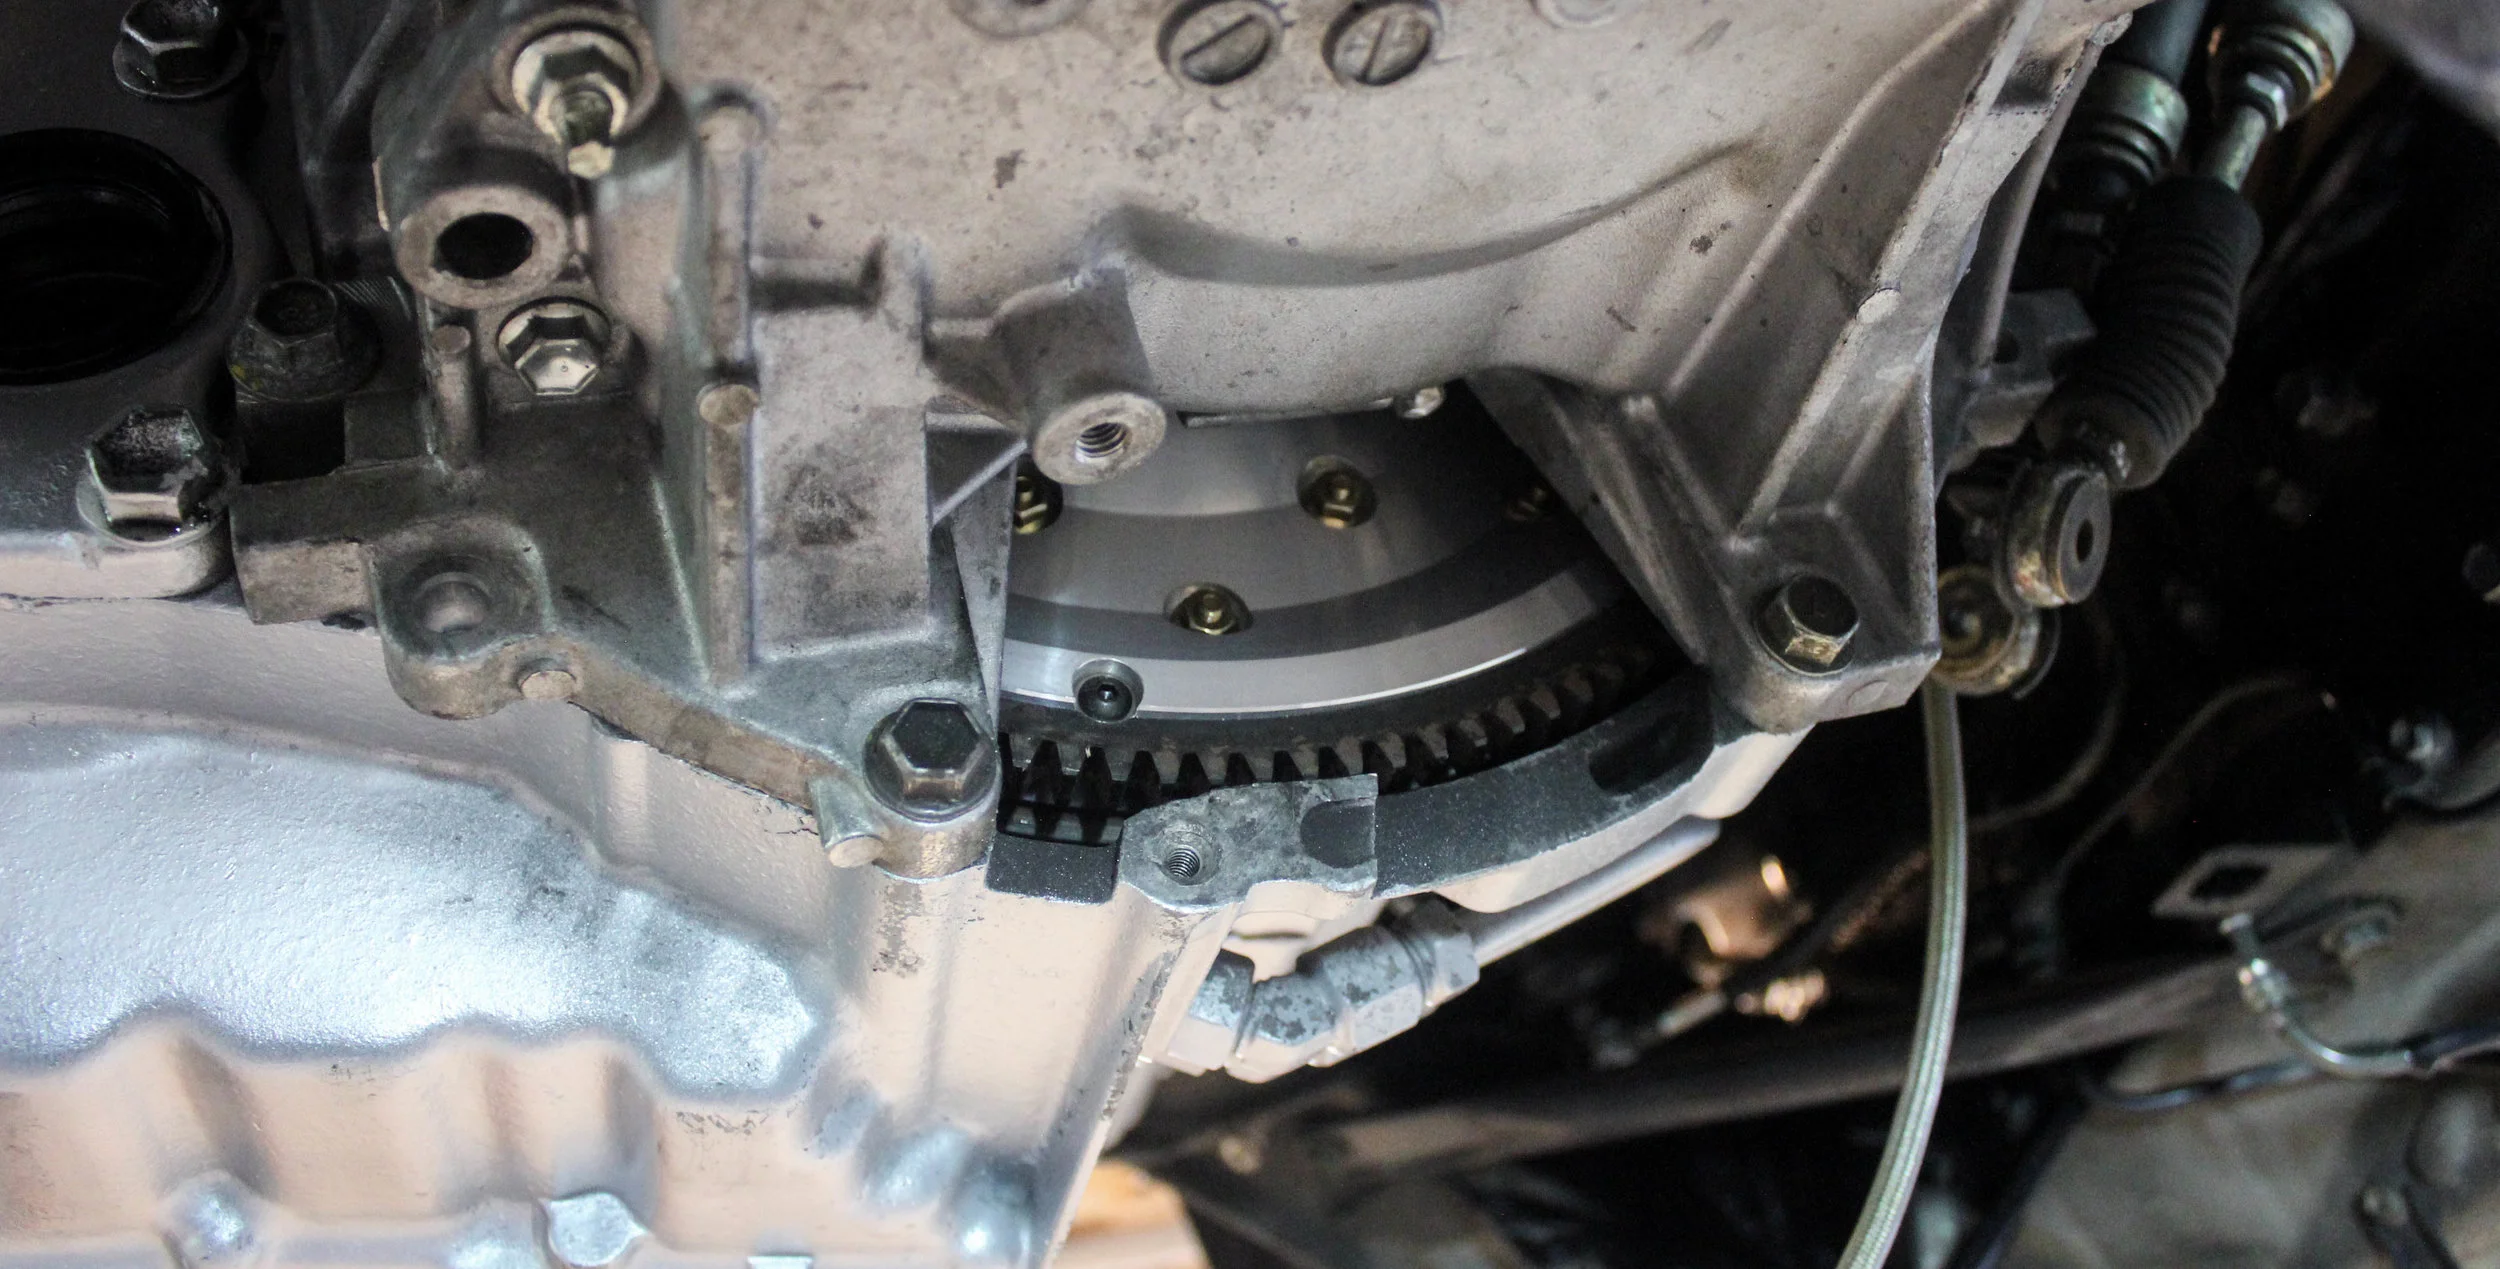
We also had a little open area exposing the backside of the flywheel. With my luck a rock would bounce up in there and cause all sorts of destruction. So I made a very simple cover plate. Make this stuff easy for you, cut out a cardboard template first!

With the axles in, next was the beautiful Y-pipe from Wilhelm Raceworks.


Next we had a sweet little upgrade for the E153. A tranny cooler, another fresh offering from Wilhelm Raceworks. The kit includes everything needed for a very reasonable $330. The lines are high quality AN with Vibrant fittings and an Earls cooler. Alex designed and fabricates the bracket for the cooler to mount. Check it out here: https://wilhelmraceworks.com/transmission-cooler


First we have to pull off the OEM cooler, which is actually just this little hardline loop. It’s like Toyota had a cooler in mind when they designed the E153.

Install is as easy as it looks. Pull the loop out and install the lines, bracket, and cooler. Everything fits very nicely. The Trans fill port access is a little tight now, but still useable without having to pull the bracket. When filling the trans, Alex suggest free spinning the rear wheels to help pump some trans oil into the cooler. The pump operates off the motion of the wheels. Another reliability mod added! What else could break?
With that done, we could toss the subframe back on. Again, using the handy dandy rolling table.


Now we can install the final piece underneath the car, a brand new Berk exhaust. Although it’s a heavy muffler section, I chose to go with ease of install with the y-pipe. Someday I’d love to build my own exhaust, but if I wanted to get this car running this summer… we went with what we knew would fit and work great. The Berk quality seems to have gone a bit downhill over the last few years, but it will still work to get those gases out from the car.

With the engine mostly installed mechanically, I sat on my hands a few days until the Rav4 harness showed up.

Pretty sexy looking, eh? I was excited to get working on it. I wouldn’t have to touch a thing on the B connector side, but would need to add in the 3 wire coolant sensor, starter harness (relay and starter wiring), speedo wiring, and some other various wiring.
The BIGGEST help I had with this harness was from the spreadsheets from Wilhelm Raceworks : https://wilhelmraceworks.com/blog/2gr-swap (he has a link to download the spreadsheet), and another spreadsheet from V6 MR2 member John Tritsch, which I can email you if you contact me, mikereed123@gmail.com. If your seriously considering this swap (and I highly recommend you should!) join the V6 MR2 group, they are a huge breath of fresh air in the online car community. Patient, knowledgeable, and overall eager to help out guys like me who aren’t SAE mechanics. I owe a lot of those guys beers for answering my sometimes ignorant questions!
I know you guys are all clicking and reading through this post looking for the holy grail of wiring directions for the 2gr swap. The simple answer is, I don’t have that. The engines are available in tons of different cars and years, and a lot of those have revisions in the wiring as well. If you don’t feel comfortable, I highly recommend sending your harness to Wiregap and pay the money to have it come back to you basically plug and play. I wish I could give you all the info on what I did, but I’m not totally sure I did everything correctly. The car seems to run pretty good but at the time of this post I’m still diagnosing some gremlins, namely my speedo, a weird misfire, and buzzing relay. If I can’t get it all sorted, I will likely send my harness to Wiregap for them to sort out this winter for me.

With the disclaimer out of the way, here’s what we wanted that Rav4 harness for! The three fusebox connectors are super simple to decipher vs the rx350 harness. Another huge bonus is the pins are exactly the same as the MR2, so no splicing needed.

What ensued was a full day of adapting the fusebox to the MR2. I was timid about this whole process so I made sure everything was going to be reversible. I labeled every wire that I moved so I could go back to OEM if I needed to. Once I figured I had most of it figured it out… I installed the harness to attempt a startup.

Like you see here, I hadn’t technically modified the harness yet, stripped any wires or connectors. In short, it was a mess.

The trunk, was a true mess! I wanted to make sure everything worked before cleaning up the wiring.

One more awesome mod, the intake from Frankenstien Motorworks (https://frankensteinmotorworks.squarespace.com/shop/2gr-fe-maf-pipe) Dyno proven for up to 15whp at peak, and Marc has a specail ECU tune to go with it. To take advantage of my cams I also had him bump my rev limiter all the way up to 7700 rpm. I probably could’ve gone all the way to 8000…but this car will see those high revs very often, and wanted to set it up for reliability. If the dyno shows I’m still missing some high end power I can always up the rev limit again.
After some trouble shooting, I found a bad ground messing up my starter relay circuit, then figured out I didn’t have power to the injectors. I added power, and gave it a shot starting. Tip: give it WOT when starting… I cranked and cranked mine and nothing, then gave it WOT and bam! Ignition!
Victory! It ran, but it was rough. I was very excited to get the car back on its wheels and out for a test drive. But, before that… we had to fill the coolant system. Before that, my radiator has had a small leak over the last year… so it needs to be replaced. And, it makes no sense to replace the radiator and then try this big front end aero project I’ve been dreaming up a few months later.
So, chicken before the egg. We had a running car but I had to cut the front end up and fabricate some rad venting before a test drive. More on that very soon!