Poon Flush Mount
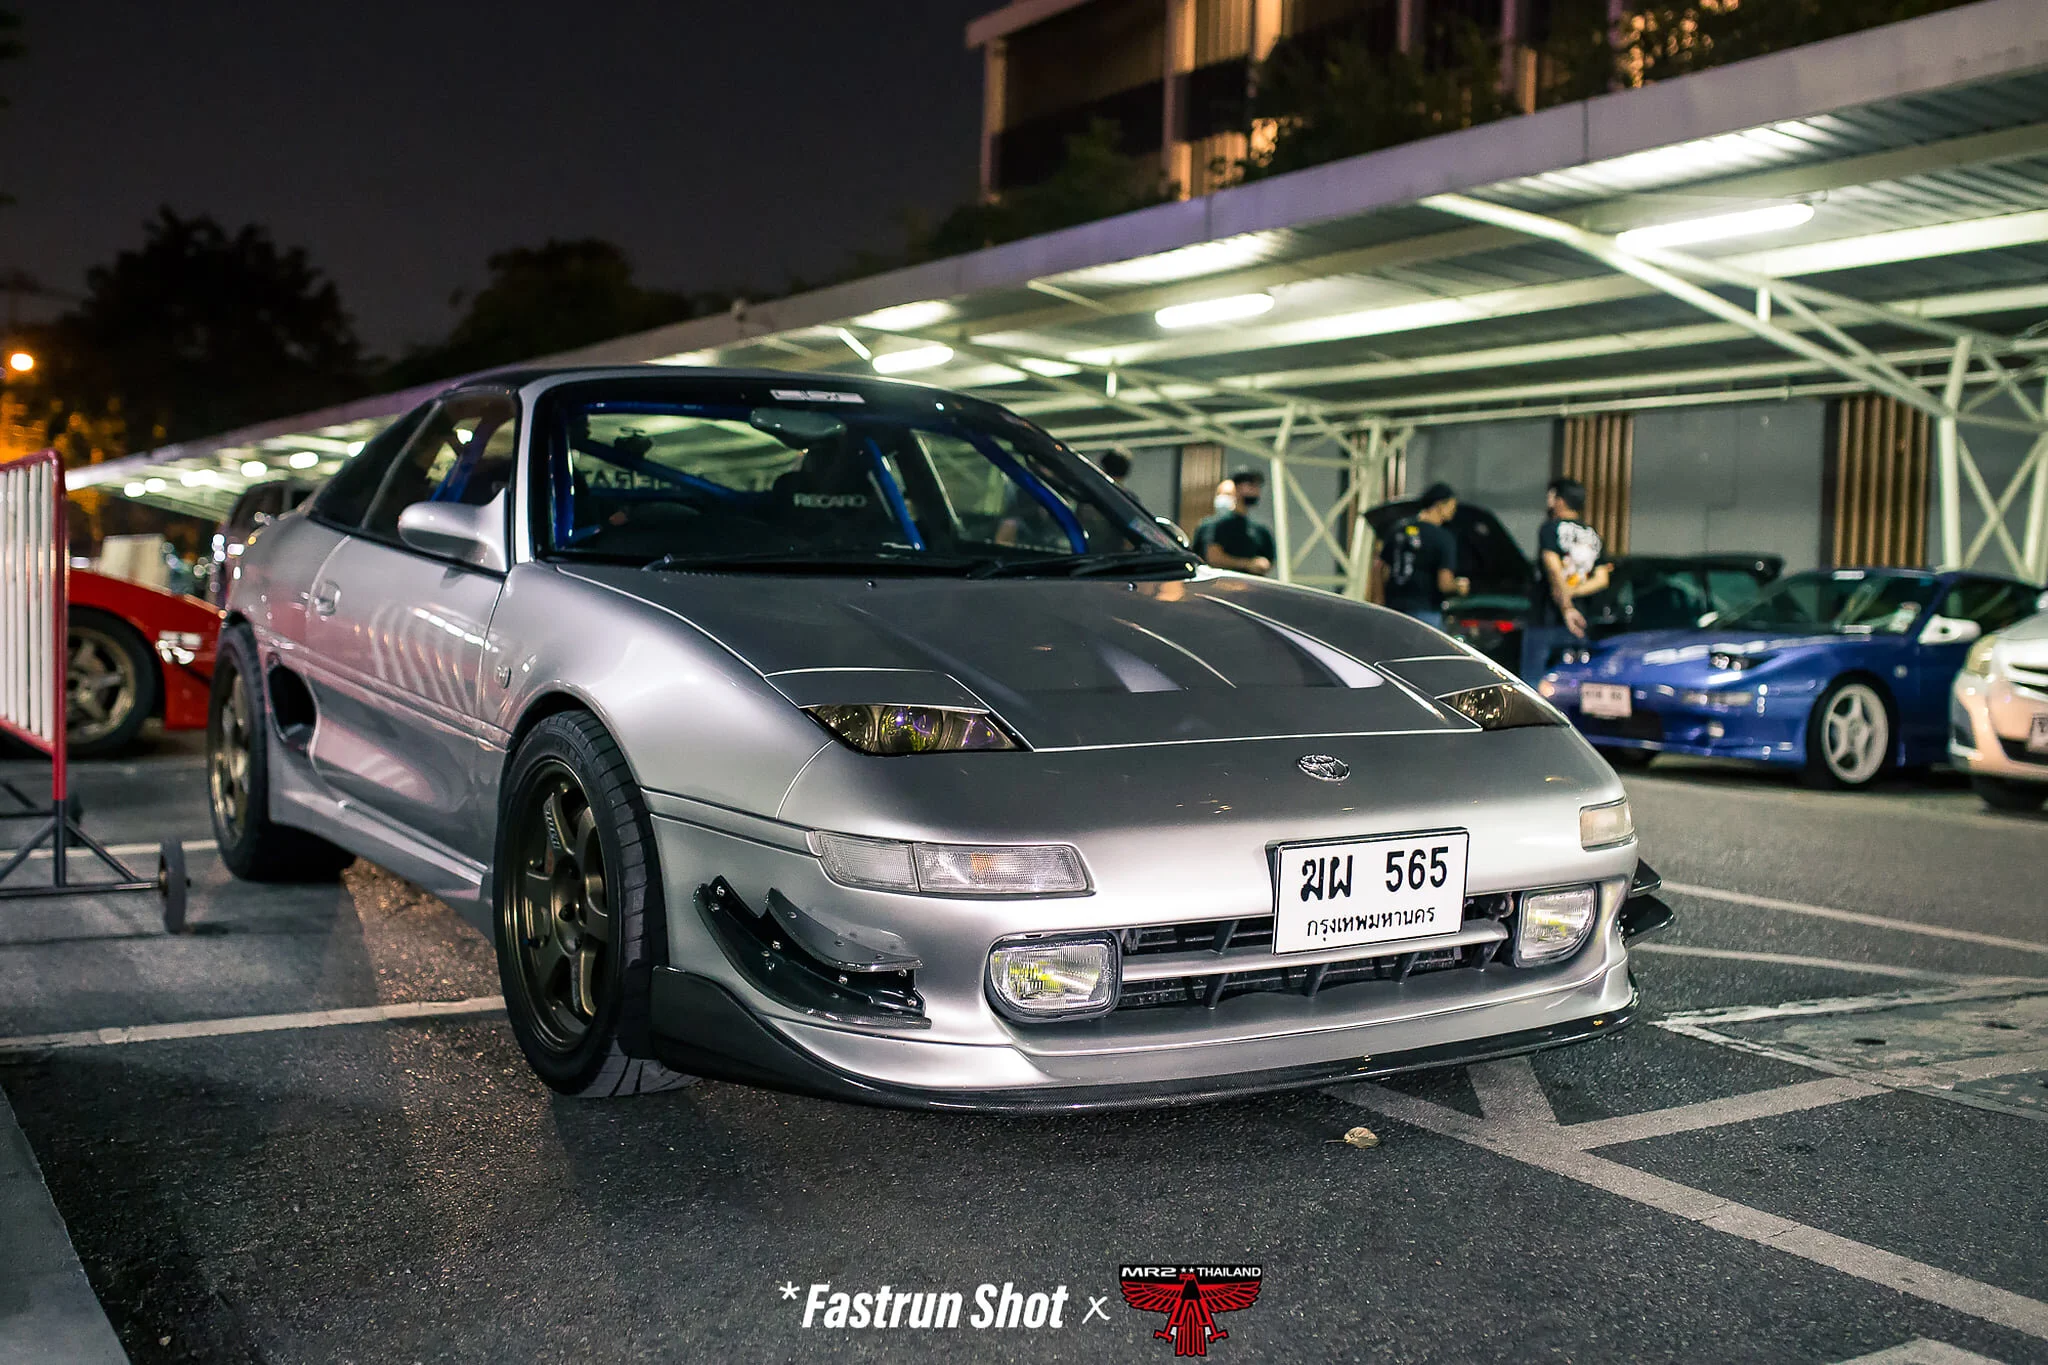
Throughout my years of MR2 ownership, there’s a few things that people absolutely love telling you about their SW20. “Mid engined turbo charged, like an exotic supercar!” “Look at those lines, basically a reliable version of a Ferrari!” Last but not least, “Check out the pop up headlights!”
The pop up headlights are a big hit amongst 90s sports car owners. I must admit, I like the novelty of them as well. But, the novelty has sort of worn off over the last 5 years. Yeah, they’re unique… but they don’t have very good light output… and most importantly, they’re heavy and provide bad aerodynamics when popped up. The second reason is why you’ve pretty much never seen my headlights up… only in the rare rainstorm, or the two times a year I drive in the dark.
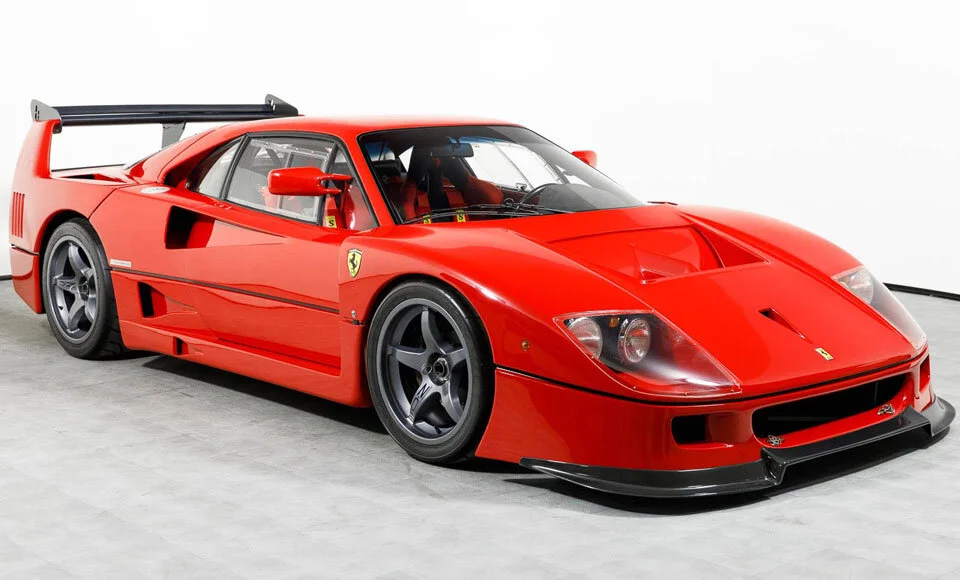
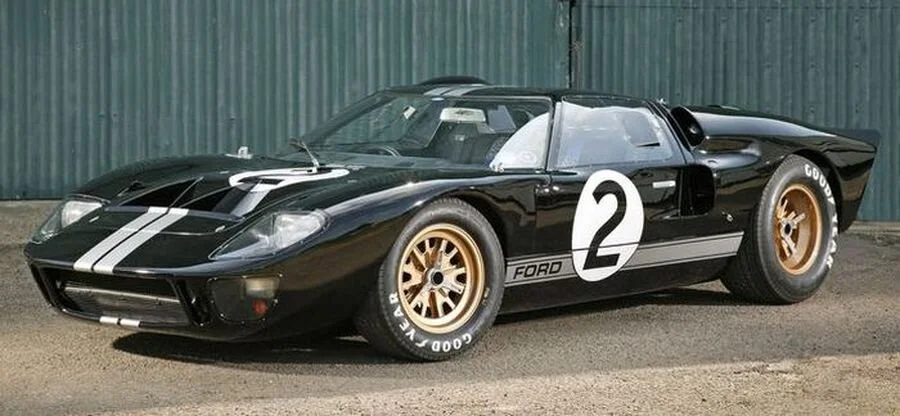
Now… if you follow my instagram, you know my unobtainable dream car is a Ferrari F40LM. Heck, even my attainable dream (kit) car is a Ford GT40.
What do these cars have that mine doesn’t? Popup delete.
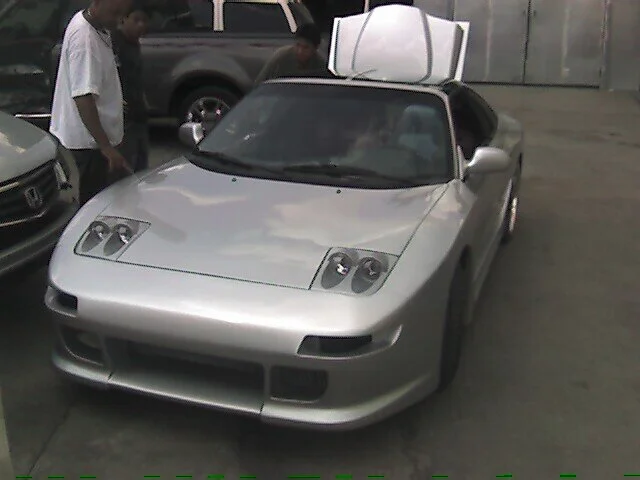
BUT. Most of the flush mount headlight bucket options for the SW chassis…. are hideous. They leave room for an ugly rectangle LED light, or even worse, terrible looking frog eyes. (not the good kind, zzw30 owners)
Wow… that is a special kind of ugly.
Then, a few years ago, a company from Tawain came out with their own design, Poon SW20 Select. I had to admit, I really liked the looks.
They give a real nice aggressive look, but I thought the fiberglas eyebrow was a bit too much… not to mention they recommend attaching with double sided tape. Something I would never trust at Mexico speeds. A buddy of mine actually got one of the earlier sets. He said the fit and finish was pretty good, although the actual lights used were cheap 4” fog lights, which meant the lights were downright dangerous to use at night.
A few years pass and you know most of my journey with the car. I’ve modified the important things with regards to performance and looks. I finally realized the headlights were about the only thing left on my car as it came from the factory. I was never a fan of the light output of the factory lights, but I used them so rarely it just wasn’t important.
So, then I decided why not pull the trigger.
I thought I could improve their performance while looking like my dreamcars above. Worst case, they gotta be lighter, right?
I purchased through the company owner, which he builds by hand per order. Things took a little while to arrive, but when they get here I liked what I received.
Yes they did include the hokey foglights. I thought, why not try using some Jeep LED foglights as my main headlights to actually make sure these would light the road. So here they are pictured with the housings and fogs. I like the old school look of the other lights, which would be my hi-beams. I rarely drive my car at night so hi-beams are not a priority to me.
Start by removing the OEM unit. This isn’t as straight forward as you might think. In fact, the forums came to the rescue here.
Then I did a rough test fit just to get a feel how it would look. I was digging it!
The LED lights I bought did need some trimming and slots made for the wiring harness adaptor to fit without lots of cutting into my chassis.
For the initial fit up and install, I just used some self tapping screws. Later I would go back and install rivnuts and use a m6 bolt to hold the housings in long term. There is also a screw on the upper left of the housing into the front quarter panel.
The LEDs were very easy to scratch so I used tape when test fitting.
The lens fit really well. This was one of the thing intimidating parts of trying to make my own that I wanted to avoid with the kit. I wasn’t psyched on the tint of the lens though… but that’s how they came.
I recently bought a cheap tig welding machine in an effort to learn more welding techniques. Tig is typically the best for automotive stuff, as it has a lot of control over the amperage used and heat going into the metal…better for thinner metal. Perfect time to use it building the brackets for the LED lights. I used some 1” steel stock for it. The LEDs have adjustability built into the housing using a hex wrench.
The supplied lights installed with some simple hinges that came with them. Poon will send you some install instructions, and it’s simple, but a bit crude. Again, the tappers will be replaced later. These give you a little bit of adjustability.
Poon instructed using double sided tape for the lens install. No way that was going to work for me. I wanted a mechanical connection. So, I started drilling holes and then tapering them for some nice stainless steel m3 hex bolts.
Having a drill press is so nice for intricate stuff like these chamfers.
With rivnuts installed into the housing, these screw right into place.
Using the hex screws also give you some final control of the fitment of the lens so it’s flush with all the aftermarket panels around it. Only the bumper is OEM anymore.
To give the lens a nice final look, I taped off the center of the underside of it and painted the borders black.
Lookin pretty sharp! I gave the housings a quick buff with some 400 grit and some semi-flat black paint. Then I used some thin foam from the hardware store to create a seal around the edge where the lens will screw in. Hopefully avoid getting any condensation in the housing even though it doesn’t seal from the elements where the actual lights mount.
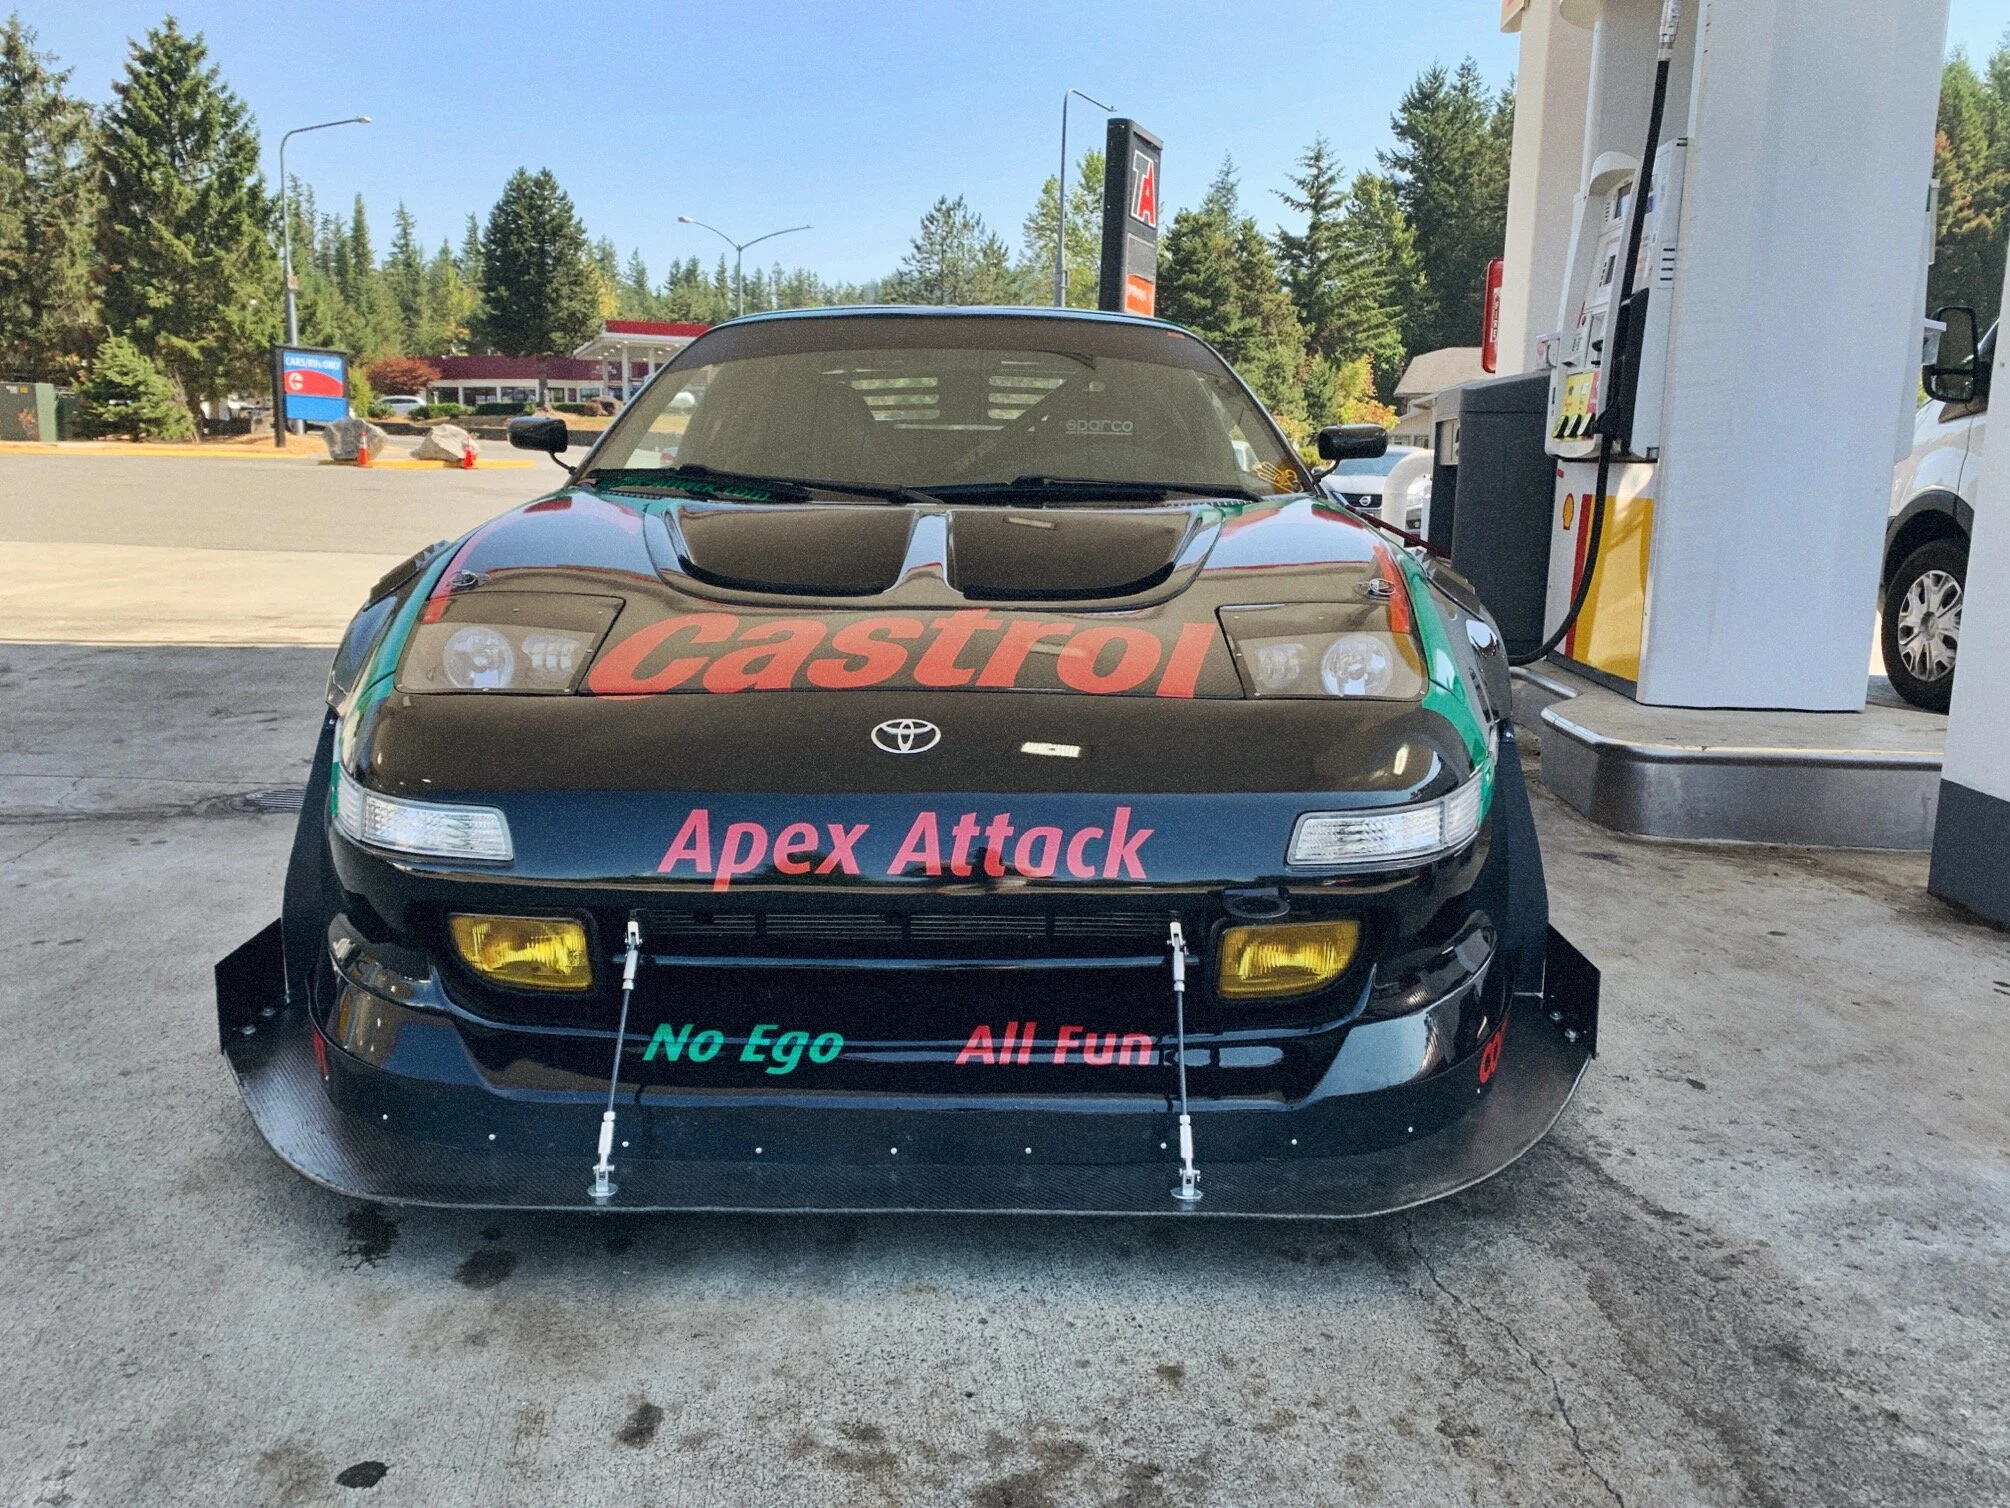
With the lenses installed, I did want to give the lights a little bit of attitude… but not to the extent of the fiberglas eyebrows included with the kit. They were too aggressive and covered a lot of the light output. So, let’s make some simple ones out of black vinyl. The joys of a black car.
I even extended the red castrol stripe to the eyebrow edge. I liked them!
But, after a few days, the tint on the lenses started to annoy me. So me being the guy who can never leave enough alone… I decided to try building my own.
So following this old school MR2Beast build, I decided to give it a shot.
First I cut some out of some 1/8” polycarbonate and set up my kitchen oven.
Using some aluminum foil on my OEM headlight cover and an old cookie sheet, I tossed the lens into the oven.
I believe it worked at 300-320 degrees (I don’t trust the accuracy of my oven)
After about 15 minutes the lens started to sag! I pulled it out and using a garage towel pressed down on it as it cooled for a few minutes. They will be hot!
After they completely cooled I test fit, and was pretty surprised how well it fit! There are some minute lines on the lens from the aluminum foil (maybe felt on the cover would work better?), but overall I was pumped.
I did overcook one… I attempted not using the aluminum foil, and it just melted on the steel headlight cover.
Once I had dialed in the fitment of the new clear lenses, I gave them the same border paint treatment.
I also wasn’t digging the rushed paint I did on the housings, so I gave them a solid hour of prep and they really buffed out much nicer, then I went with a gloss black paint to hide some of the small flaws.
I was digging the clear lenses upon final install!
The LEDs give a nice white light.
The LEDs really put out a lot of light. I will update this post eventually with a pic of the output and pattern at night.
I then finished them with the same eyebrow and livery vinyl.
And now… the final weight difference! The OEM lights, covers, motors, and linkages weigh in at over 16.5 pounds!
And the Poon setup…
11.8 pounds saved! That almost makes up for the ABS re-install. Overall I like the look and function, and the weight savings is a plus.
Soon, we’ll pull MORE weight out of the car, along with a big shift improvement. Stay tuned!

